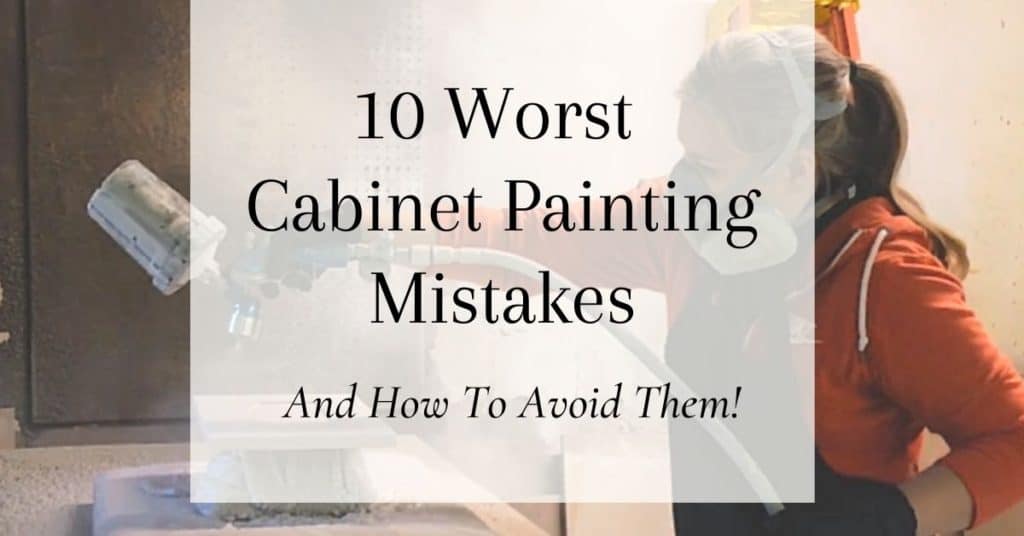
It’s always fun to see a beautiful before and after photo of painted cabinets, but lean in and let me tell you something…sometimes, they aren’t all pretty! It took me YEARS of trial and error to get to where I am today, and I have made plenty of mistakes along the way. Today, I’m sharing the top 10 cabinet painting mistakes that you need to stay away from.
Painting your kitchen cabinets is a great way to update the look of an older kitchen. But, it can be easy to make mistakes when painting cabinets that you might not know about. Read on for 10 cabinet painting mistakes homeowners usually make and how to avoid them!
If you’re anything like me, when it comes to painting the cabinets in your kitchen or bathroom, there is a lot of pressure. I want my paint job to be perfect! However, it’s easy to make a mistake that can seriously ruin the finished product!
Here’s what not to do when it comes to getting those pretty painted cabinets.
The 10 Cabinet Painting Mistakes You Need to Avoid!
1. Skipping Or Skimping The Prep Work
We’ve all heard it before…painting is 90% about the prep work. It’s true! I’m still amazed at how many people seem to think it’s optional. I get DMs daily from people asking, “Do I have to sand first?”.
Here’s the deal, you don’t HAVE to prep your surface before you paint. No one will arrest you if you choose not to prep.
But, if you want a painted finish that will last more than a week before it looks like trash, then yes, you have to prep.
Prep work doesn’t just mean sanding a bit here and there. One of the biggest mistakes when painting kitchen cabinets is not starting with a clean surface! To do it correctly, you have to get the surface totally clean and grease-free.
This. Is. Imperative.
After it’s clean, then you have to sand the surface thoroughly. Sanding abrades the surface, which allows the primer to adhere properly.
Yep, you guessed it, after sanding comes priming. Primer is also an essential part of the process. Skipping it is bad news.
Painting cabinets is cumulative. This means that each step is 100% dependent on the successful completion of the step before it.
Sum it up? DO NOT skip the prep work!!! It’s a lot easier to do it right the first time than it is to remove the bad paint job and re-paint the entire thing!
2. Using Liquid Sandpaper Instead Of Actual Sandpaper
Yup, more prep work mistakes. I told you it was important!!
Since the purpose of sanding is to break/rough up the surface of the wood physically, actual sandpaper needs to be used. Liquid sandpaper is a liquid/gel chemical that slightly softens the substrate, which does not offer physical abrasion. There is no substitute for real sandpaper.
3. Painting With Chalk Paint, Milk Paint Or Any Other Clay Or Mineral Base Decorative-Style Paint
Okay, I know people love their chalk paint. But, don’t use it. Don’t misunderstand me, I’m not against these types of paints. They do have their purpose…but, that purpose is not for cabinets. Save your chalk paint for pieces like china cabinets that aren’t as high traffic.
Chalk paint, milk paint, clay/mineral-based paints – any paints of this kind does not belong on cabinets if you want a long-lasting finish. And before you ask, yes, this is still the case even if you put a clear coat of anything on top of it. It still won’t work…trust me, this is a cabinet painting mistake I see over and over!
This is because these paints are not formulated like quality, professional-grade residential coatings. They don’t have self-leveling properties (hello, unsightly brush marks!). They don’t have hardening or curing properties, which means it will be a soft finish that’s easy to damage.
In terms of hardness and durability, these paints don’t hold a candle to coatings like Benjamin Moore Advance (my preferred brand).
4. Using Cheap, Poor Quality Tools Is A Huge Cabinet Painting Mistake
Even if you used the greatest, most expensive paint on earth, you’d get a crappy finish if you apply it with crappy tools. Do yourself a huge favor and spring for the better tools and supplies when painting because it will make a HUGE difference in your final result.
This includes brushes, roller covers, plastic putty knives, and tape. Do not buy that $3 paintbrush!
I know that when you’re acquiring the items, you need to start your painting project; it starts to add up quickly…I get it! But, you have to trust me that in the long run, spending the extra $50 or so to get the better quality items will make your paint job look so much better, and it will make easier work on your part.
Note: Want to know what the best tools for cabinet painting are? I’ve got you covered – here’s a free download with my complete supply list for cabinet painting!
5. Applying A Latex Primer
I fully understand the irresistible draw to use a latex primer- it’s cheap, fast, and easily cleaned up with soap and water. But the truth is, latex primers are a bad choice for priming cabinets.
This is because latex primers don’t block tannin bleed through. It also does not sand well and doesn’t harden properly, which means it is not going to be durable over time. Solvent-based primers (like shellac and oil) are much better options.
If a water-based primer is an absolute must for you, then I recommend you opt for a urethane acrylic primer like Stix.
6. Disregarding The Recommended Recoat Time Frames
Confession time: raise your hand if you’re impatient like I am! I think it’s only natural to want to finish a painting project as quickly as possible, but rushing the recommended dry times can lead to big problems.
All primers and paints need their allotted time to dry/cure before another coat is added on top. Paint chemists thoroughly test these products and push them to their limits. It’s their job to make sure consumers have the most predictable and the best outcomes when using their products. That’s why they share their findings with us on the can’s label.
If the label says there’s a 16 hour recoat time, then you really need to wait 16 hours before you recoat. It’s hard to wait sometimes, I know! But, it’s always in our best interest to obey the label. Not doing is a massive cabinet painting mistake you don’t want to make.
7. Thinking That Buying “Good” Or Expensive Paint Is The Key To A Long-Lasting Finish
The price tag on the paint is not the only factor when it comes to the longevity of the finish.
Remember when I said that painting cabinets are cumulative? The paint, no matter the cost, is only as good as the primer underneath it. The primer is only as good as the sanding underneath it. The sanding is only as good as the cleaning underneath it. See what I mean?
You could buy the industry’s best, most expensive paint available, but if that’s applied to non-prepped or ill-prepped surfaces, it’ll be trashed quickly.
8. Painting Before Choosing And Replacing Countertops
IF you’re going to replace your countertops, do it first! After your counters are chosen, then you choose your cabinet paint color. It’s infinitely easier to choose a color based on the counters versus the other way around.
9. Skipping The Sanding Between Each Coat
Ok, so perhaps not sanding between every coat isn’t one of the BIGGEST cabinet painting mistakes, but I wanted to include this one because it’s pretty important. If you want your cabinets to have that factory-finish feel and look, then this right here is the secret!
If you sand after every single coat of primer and paint applied, you’ll have the finish you’re dreaming of! Here’s a quick rundown of the grits we typically use for the process:
- Sand wood with 120 grit sandpaper
- Sand first primer coat with 220 grit sandpaper
- Sand second primer coat with 320 grit sandpaper
- Sand first paint coat with 320 grit sandpaper
Trust me, it sounds worse than it really is! It’s not that bad to actually do it and it’s 100% worth it in the end because the feeling of your final paint finish will be smooth and slick. Your friends and family will not believe that you did it yourself!
By the way, make sure to clean the cabinets off after each sanding session – you don’t want all those little gritty pieces to get into your new coat of paint!
10. Haphazard Brushing And Rolling
There’s a proper way to brush and/or roll paint onto any surface. This is especially true for cabinets!
Not paying careful attention to how you’re applying the paint will leave you with an amateur-looking paint job. Don’t fall victim to haphazard brushing and rolling!
In my DIY Cabinet Painting 101 course, I show my “Roll and Tip Method” in detail, but here’s a snippet of what that entails on a standard raised panel cabinet door:
- Carefully brush inside of panels getting material only on the inside of panels – not getting the coating on the flat plane of panel or stiles or rails.
- Roll coating onto flat, center panel then immediately brush off.
- Roll coating onto side stiles and rails one at a time while not overlapping intersecting areas then immediately brush off.
- Roll one edge at a time and immediately brush off.
That may sound confusing but when you see it in action in the DIY Cabinet Painting 101 course it will make perfect sense!
Final Thoughts On Cabinet Painting Mistakes
I know this list of cabinet painting mistakes may seem slightly overwhelming, but I promise you CAN paint your cabinets yourself and get that amazing high-end, factory-finish look! Don’t believe me?
Just check out some of these finished kitchens and see what I mean:
I’m super glad that you posted this about the ten mistakes. I have wanted to paint my cabinets for so long. I had often wondered these same things. This also why I have backed away so many times. I know once it is done ,that’s it. I have painted so many things over the year’s. I love painting murals. However, if you make a mistake, you can’t paint over it. This is so scary, like there is no room for mistakes. I would love to watch your class. When , Where and how much?
.
Wish I would have started here but now all I can do is cry. Ok, so now that the crying over, how do I fix it? I don’t even want to go down the list of all the wrongs I did with my cabinets. If there were 11 on your list, I may have made that one too. The bottom line, it scratches very easily as they are laminate cabinets. I did clean, wipe and scuff them up first to my defense but I can tell they aren’t going to last. Any suggestions to get the paint off and start again? Luck for us, it’s a small trailer.
ugh, so sorry to hear this Linda! You don’t want to hear me say it, but the only thing to do is to remove all the paint and start over:( Don’t use a chemical stripper, sand it off as best you can.