If you’re like most homeowners, your kitchen cabinets are maybe the most used item in your home! With all that wear and tear, it’s no wonder your kitchen cabinets are looking pretty worn out. But, before you even think about painting them…drop that paintbrush! First, you’ve got to learn how to prep your cabinets before painting.
I know, I know. You’ve probably read some blog post about some miraculous painting solution where the blogger painted all her cabinets in under an hour without any prep work whatsoever.
Well…I call BS on that.
It’s not that the blogger is lying, but there are certainly some things she isn’t telling you. Or perhaps she isn’t expecting her cabinets to withstand actually being used…because after painting hundreds of cabinets, I can promise you this: prep work is ABSOLUTELY necessary if you want your paint project to last, and do the job it’s meant to do.
In fact, I’d say it’s the most important part of the entire process!!!
By the way, if you’re curious…check out this post on how do painted cabinets hold up over time. I’ll keep it real with you all!
Why Prepping Cabinets For Paint Jobs Are So Important
Before we get into HOW to prep your cabinets before painting, let’s talk about WHY it’s so crucial.
The simple truth is, how long your paint job lasts depends on how well you prepare your cabinets.
And, I can’t stress enough how important it is to use the right materials. If you try to save a buck or two by using less than stellar supplies, then you’re just sabotaging yourself in the end. There are some places in life you can cut corners, and some you can’t. This is one of those!
You see, when you skimp on your prep work, it will cost you in the long run. Trust me, the last thing you want to do is to spend all this time, effort, energy painting your cabinets just to have the paint bubble or peel off.
It seems like a major PITA (and it is, to be honest) but prep work will make or break your project. Don’t skip it.
In fact, I believe so strongly in this principle that it’s literally at the top of the list of my 10 worst cabinet painting mistakes you don’t want to make!
How To Prep Cabinets For Painting: Step By Step Process
So how exactly should you be prepping cabinets for paint? Let’s break it down!
1) Empty the Cabinets
This may seem like an obvious step, but it’s still prep work! Take everything out of your cabinets.
Are you still banking on not having to remove your items and just painting the door fronts? Well…sorry to be the bearer of bad news, but you’ll need to pack up your kitchen.
Even if you opt not to paint the inside of your cabinets, you’ll still be working with chemicals and things that aren’t exactly “food safe”. My personal recommendation? Pack it up.
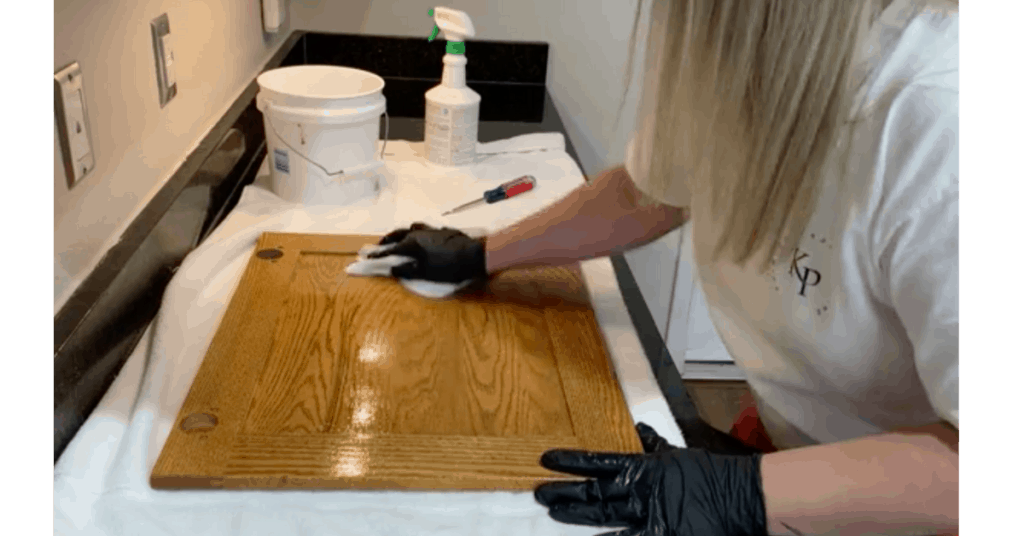
2) Thoroughly Clean the Cabinets
Even if it seems clean, still give your cabinets a thorough cleaning. Trust me, you don’t want to skip this step.
You definitely do not want to paint over grease, dirt, and grime. The cleaner you make things now, the easier it will be later! You’ll thank yourself when you have a smooth, clean paint finish later. 😉
Everything will need to be thoroughly cleaned and degreased before anything else. I’ve tested out a lot of different ways to do this but I keep coming back to this power duo: TSP and HOT water…as hot as you can stand it! Soak up this mixture with a Scotch Brite pad and scrub those cabinets.
If you have extra greasy spots (ie around the stove), you can use Spray Nine along with the TSP/water solution. Scrub well! This is where you can get that arm workout in. 😉
PRO TIP: Use a brush attachment on a drill to REALLY get all of the grease and grime off! Just keep in mind, you don’t want to overly saturate the cabinets – be careful not to soak them with water and soap! Click HERE to watch the brush in action!
3) Remove Residue
Think your cabinets are clean? Well…not just yet. After cleaning with the above detergents, you still need to go back over the cabinets with clean water and a microfiber cloth to remove any residue left behind.
The cabinets should be squeaky clean by now. If you notice any areas that are still dirty or greasy, repeat the above process until it’s totally clean.
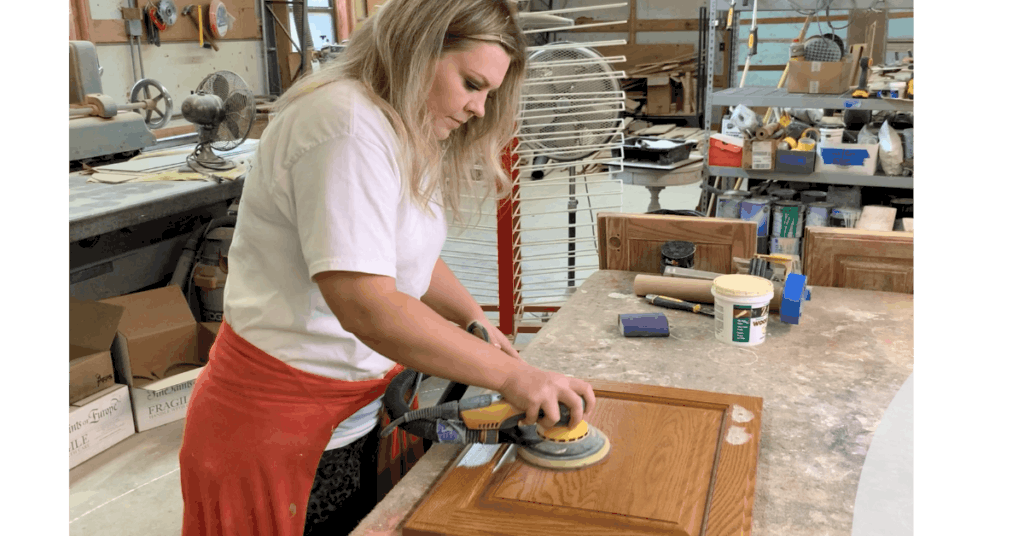
4) Sand
Now that your cabinets are nice and clean it’s time to make a mess! I know, kind of annoying, but this is key to getting that perfect paint finish. The goal is to remove off the original finish.
An electric sander makes fast work of this commonly dreaded task. This is the electric sander I personally own and have used for painting dozens of kitchens.
Could you use just regular old sandpaper? Maybe. But, it would take a lot longer and be a lot less efficient than the electric version.
Generally speaking, you can start with 120 or 180 grit to sand the original finish off of the cabinets.
You can see some visuals of sanding cabinets in this blog post about repainting kitchen cabinets.
5) Fill Wood Grain
If you have those cabinets from the 90s with that super heavy wood grain, and you DON’T want to see that grain after they’re painted, then you get to do a bonus step….sorry! If you really want that grain-free, smooth and flat modern look, you’ll want to fill in the wood grain. There are a few steps to doing this, but I walk you through the entire thing in my free mini-course, How To Fill Wood Grain! (If you don’t mind to see some of the wood grain pattern, then you can skip this step!)
6) Start Priming
After the cabinets are sanded, you’re ready to begin priming! This is where you’ll really start to see how important it was to prep the cabinets properly.
As long as you’ve taken the time to carefully prepare your cabinets as listed above, it should be all downhill from here!
But if you jump ahead and skip out of the aforementioned steps, then you run the inevitable risk of your cabinet paint job either not adhering at all, peeling or chipping off in no time. No one wants that!

Download My FREE Cabinet Paint Supply List!
Don’t run yourself ragged trying to figure out what supplies you will or won’t need! Grab my free list, it’ll save you loads of time…and it’s free! CLICK HERE to download it straight to your device!
I’ve Prepped My Cabinets For Paint…Now What?
Congratulations! You’ve officially completed the hardest step of learning how to paint your cabinets. Well…except for maybe picking the color 😉
Next up is the actual painting! Of course, it’s not as easy as just slapping up some color—there’s a liiiiiitle bit more to it than that. I walk you through the entire cabinet-painting process in my course, DIY Cabinet Painting 101. I cover everything I’ve learned over years of painting hundreds of cabinets and distill all my tricks and tips into easy-to-digest info for you!
Just remember…learning how to prep your cabinets before painting may seem unnecessary or tedious, but I PROMISE you…it’s worth it!
Check it out here!

Leave a Reply