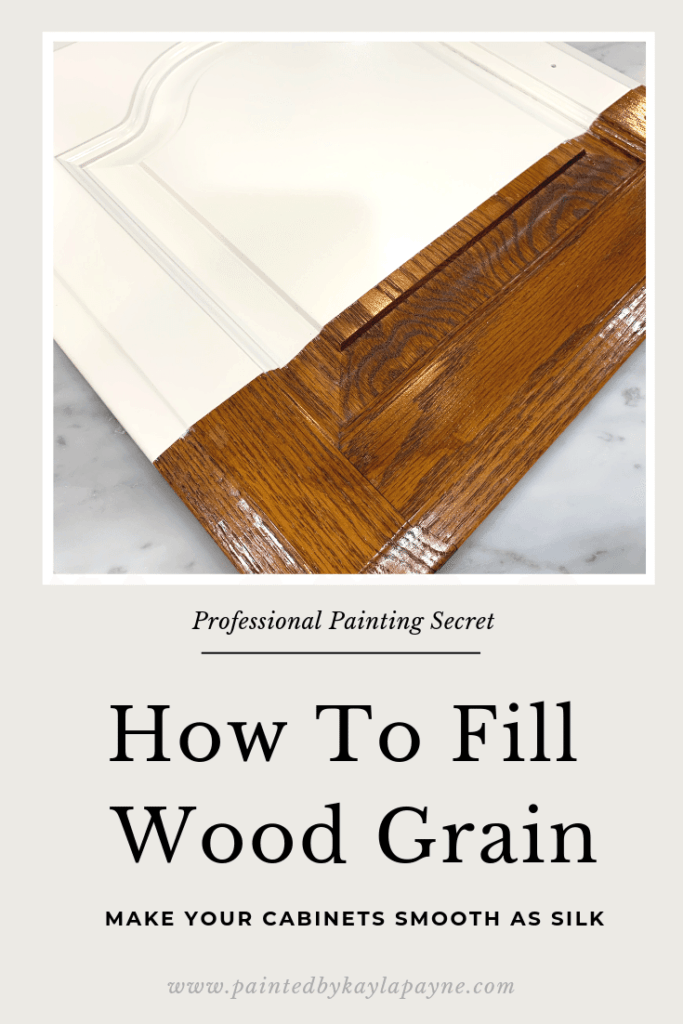
Did you know that you can fix holes in wood with a product called wood grain filler? No? Well, it’s true! In this post, I’ll walk you through the steps on how to use wood grain filler and what to do if it doesn’t work. With these insider tips from a pro, your cabinets will be looking like new in no time!
Ok, so there are a million other articles on how to use wood grain filler for cabinet painting. But, did you know most of those are not written by painters (I know, mind blown right!?) Well, this is NOT one of those articles!
Here’s the deal…you want to paint your dated oak cabinets, but you don’t want to see the wood grain pattern through the paint, right? And, you’re painting them yourself because it costs too much to hire a pro….which means you need to get it right the FIRST time.
And THAT is why you’re here. To learn how to do it right the FIRST time.
(If you want to skip all the words in this post, you can download the video right here for FREE!)
There’s not a lot of room for error, but you CAN do it! I’ll help you. I’m not another DIY blogger, so you can rest assured that I didn’t just do this once and blog about my experience!
I’m a professional cabinet and furniture painter at your service. In this free tutorial, you’ll learn trade secrets of seasoned professionals. The same methods they/we use to fill the wood grain on oak, ash, or any other grainy cabinet wood.
Free Video Tutorial!
Why should I use a wood grain filler?
This is a no-brainer for some people. If it’s not for you, that’s ok! But, almost every cabinet refinishing client of mine wants their cabinets nice and smooth and not full of little pinholes, ruts and valleys from the grain texture. Which can be visually unpleasant and definitely harder to clean!
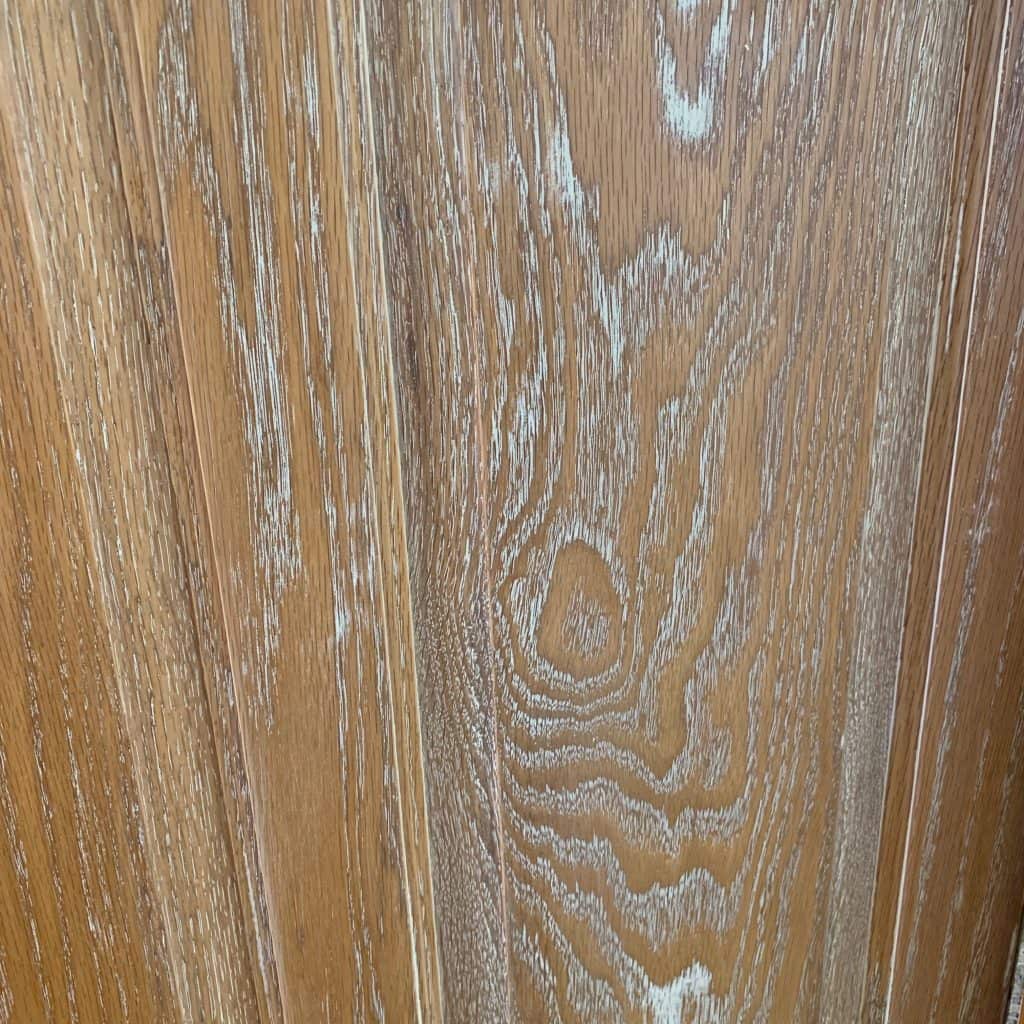
What is grain texture and why is it there? After all, not all woods seem to have it…
Not to get too boring er, technical, but the grain is the orientation of the cell structure of the wood pores. This is the internal structure of the wood itself, and some woods have more coarse or open grain (like oak and ash), and some woods have more fine or closed grain (like poplar and maple). These coarse-grained woods (to some of us) look not-so-great once painted.
Perhaps you might be wondering, “doesn’t the paint fill in the pores?”, no it doesn’t.
It’s a pretty common misconception, though. Many people believe that the paint will fill the grain pores, but nope.
It won’t. And here’s why…
Paint is a very thin film (1 to 3 thousandths of an inch!). Think of it like shrink wrap. The paint film exactly matches the shape and texture of what it’s on. So the open grain pores on your cabinets will still be open grain pores once they’re painted. See below.
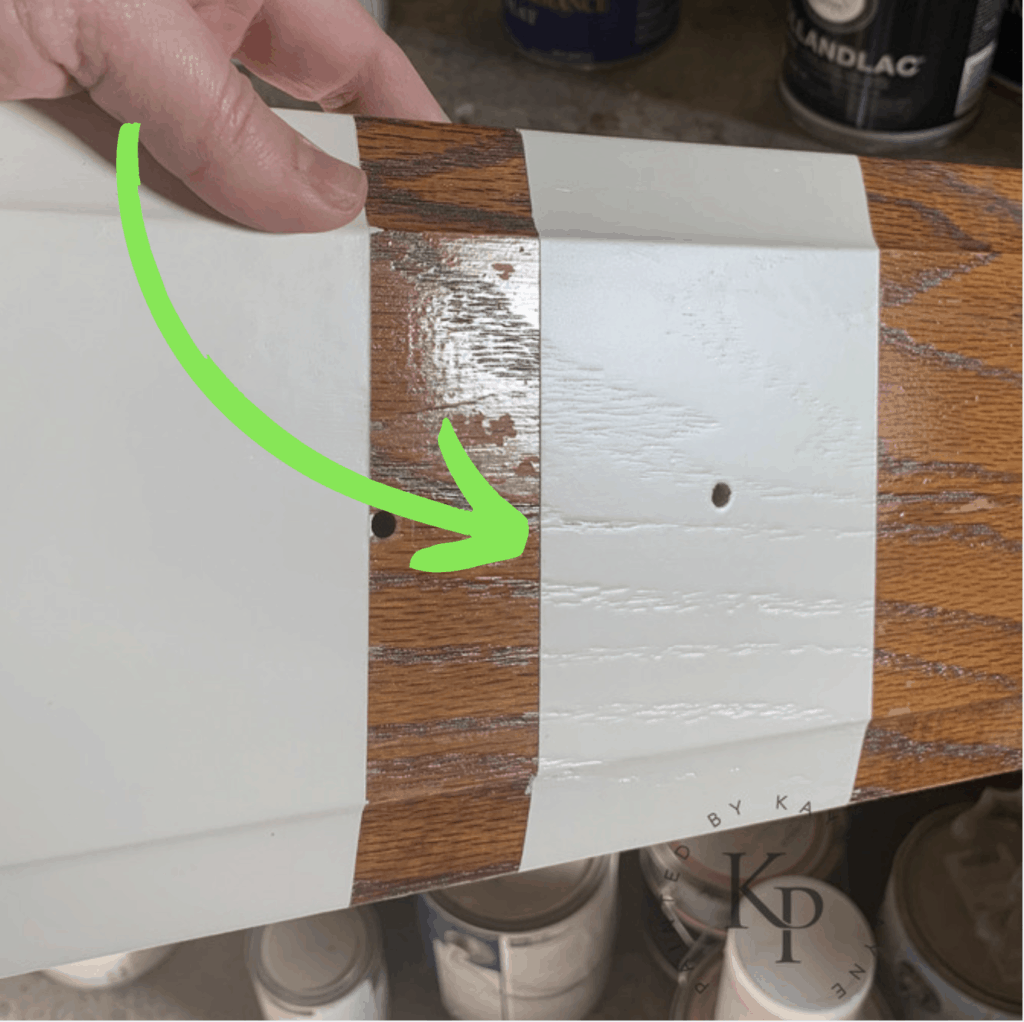
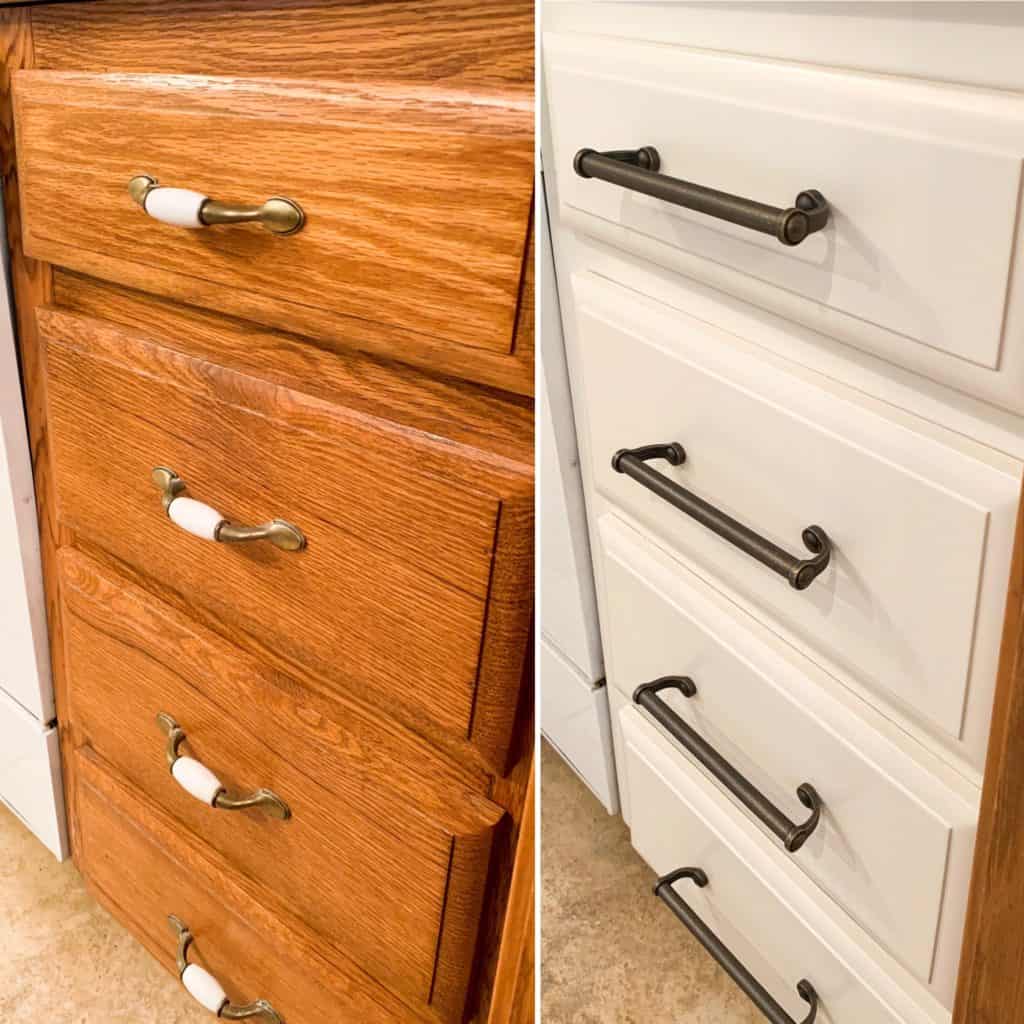
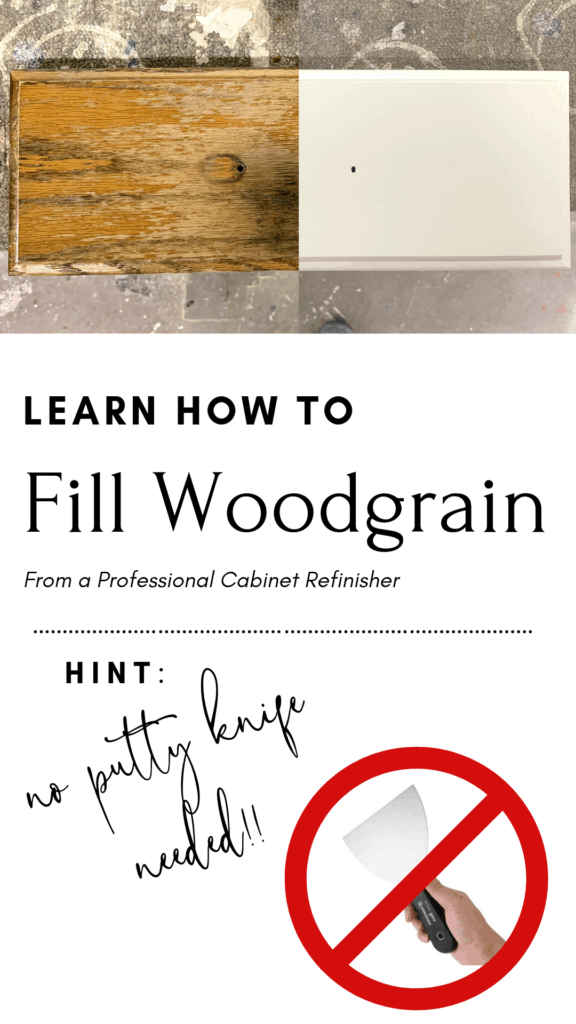
So if you want your cabinet doors smooth like this below, you have to fill the grain, not just paint over it.
*Oh and one more thing…no, you can’t sand the grain away either. It’s totally permanent and goes all the way through the wood.*
What if I don’t fill the grain?
Filling grain is NOT essential to cabinet painting. You don’t have to! Plenty of people choose not to. However, this step IS absolutely essential for getting a fine, smooth finish, ESPECIALLY for people who want to put a glossy high sheen finish on their cabinets (or furniture).
Which leads me to a side note…
I LOVE high gloss furniture, and if you do too, then you have to check out my other how-to tutorial post on how to paint glossy furniture so you can achieve a perfect, high gloss finish.
But enough about that, let’s get down to the task at hand!
How To Fill Wood Grain: Step By Step Tutorial
You can access the full supply list and watch the video tutorial by clicking HERE!
Ok, so you have your cabinet doors, and you’re ready to fill the wood grain! Take off all the hardware, make sure everything is CLEAN. The filler and your primer will not stick if the cabinet is not clean. Use a degreaser and/or TSP (trisodium phosphate) to thoroughly clean the surface.
**The video tutorial will show you all this, but feel free to use this as a reference for later**
- Thin your filler
- The wood filler I suggest using for this application is a super thick putty, and you’ll be applying it to your cabinet with a brush. So you mix some warm water with it until it’s a brushable consistency. (I list my favorite filler in the supply list inside the video!)
- Brush your filler
- Brushing against the grain, apply the filler first to the center panel (if your cabinet doors have an inset groove along the panel edge where it connects to the rails/stiles, then you will brush with the grain direction) then to the rails and stiles (the outer “frame” around the panel). Brushing the filler will work it into the open pores to fill them up.
- Allow filler to dry by moving on to the other pieces you are filling
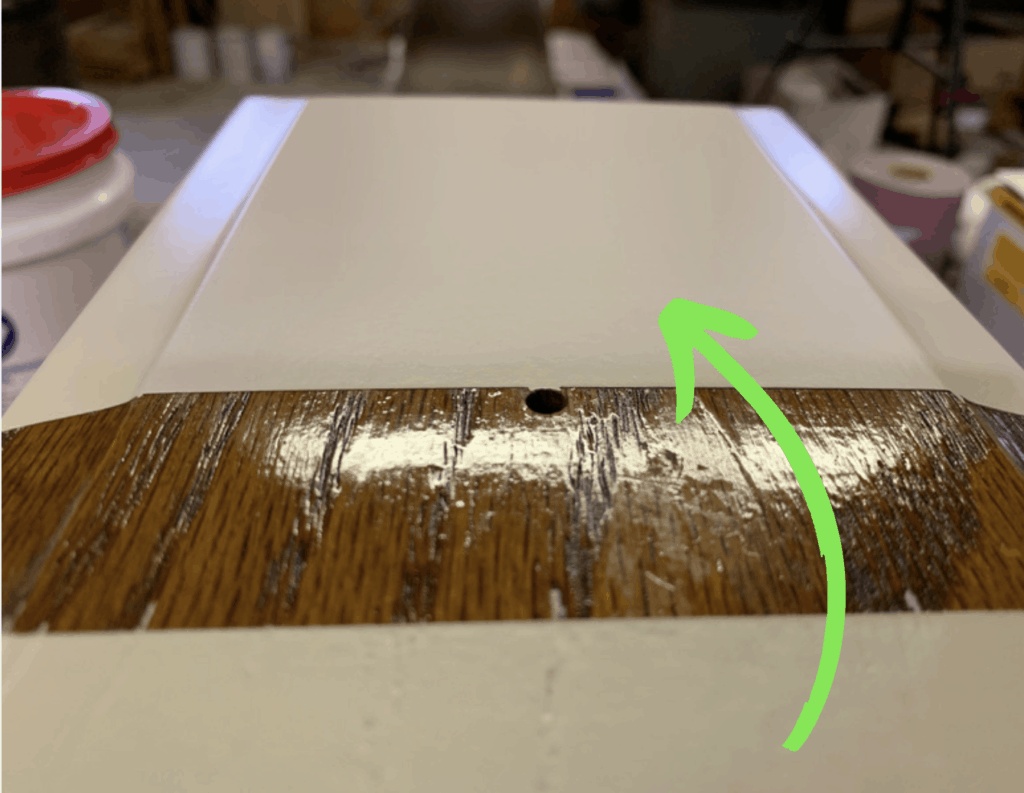
- Sand with 320 Grit Sandpaper with a Block
- Using a sanding block and 320 grit sandpaper, sand the flat surfaces first. You will know you are finished when the filler is only remaining in the grain pores, and is no longer on the flat surface, as seen below in this photo.
- For curves and grooves you will have to fold your sandpaper and sand this by hand.
4. Vacuum and prime with oil or shellac
- I recommend an oil or shellac based primer (which I typically spray, but it’s completely brush-able too!) This coat of primer will seal the filler and prevent your next coat of filler from re-activating the first and pulling it out of the grain pores. You don’t want to undo all your hard word, so prime between coats of filler!
- Lightly sand your primer when dry, then revisit the door for the second coat of grain filler.
5. Repeat Steps 2, 3, and 4 until the grain is completely filled
6. Vacuum, tack cloth, and paint!

Want more details on cabinet painting? Visit this post for cabinet painting tips!
I hope this helps aid in your painting projects! Pin the photo below for quick access next time you need it!
xo Kayla
Great and very useful tips! You certainly are a pro and I love the shine of cabinets after filling the woodgrain and painting them. This is all new to me, but I’m confident I can make something truly beautiful by following these tips. Thank you so much for sharing this!
Hi Kayla,
I’ve signed up for the wood grain filler course (it’s so helpful!) and am practicing all of your advice/tips. I’m just wondering- do you find 2 coats of wood grain filler typically fills most grain? When you are finished with filling and priming, do you still see a little bit of grain? I’m struggling with trying to figure out if my dresser is finally ready for paint! I can see just a tad of grain through the primer after sanding. Not much though.
Thank you!
This is such good information! That difference is CRAZY!
This was so helpful – thank you! What paint did you use and what paints do you recommend for bathroom vanities?
My pleasure! For a list of all my recommendations, click HERE to grab a free download! xo
Hi! This is great. We recently had our kitchen redone and the guy who started we had to fire and the second guy never mentioned an option of filling the wood grain…so now I’m stuck with white cabinets that have the grain showing. Can I apply grain filler after paint? Or exactly happy with the way they turned out.
I hate to hear that! So sorry. You can grain fill after paint yes, but of course have to go through the priming and painting process again.
I also experienced the same disappointment after paying a professional painter to paint my cabinets. How much sanding is required before applying the wood filler?
I’m sorry to hear this! You shouldn’t need to sand prior to applying the filler
Hi. I signed in my email to get the video tutorial, but haven’t received anything yet. I was considering doing the class. Are you still doing this?
Hey Angela, I will look into this issue tonight when I get home!! I’ll manually put you into the mini course if the automation didn’t deliver as it should’ve! Talk soon, Kayla
Ok! So what I’m understanding (hopefully) is that we do NOT need to sand before we do the first coat of grain filler? Just use a good degreaser and clean the cabinets all really well and then we can get started?
I’m so excited!!! Bye bye ugly oak!!
Right, no need to sand before wood filling! Did you get into the free minicourse? xo
You can’t hide Oak grain in solid wood.
Hi Jennifer, you can and we have. Lots of work involved… but it’s possible. Best – Kayla
Hi Kayla! I’m in the midst of wood filling my cabinet doors with the help of your awesome mini course…do you also fill the wood on the cabinet boxes? Or do you find the grain is not super noticeable once the doors are on? Thank you!
Hi Mary Kate! Yes do the frames too!
xo Kayla
Could you use a latex primer between the layers and just use the shellac (or oil?) primer on top before you paint?
I wouldn’t recommend it. Best to stick with shellac or oil. Either one would be good…shellac is a bit easier to work with, doesn’t smell as bad and dries VERY fast.
Can you please share which grain filler product you use? I tried clicking on the link for the course, where you say we can view your supply list, but it’s a dead link.
Thanks!
Oh no! I don’t know what happened to break my links. Thank you for bringing it to my attention! To answer your question, I use either Zar Woodpatch or Timbermate:) I just updated the links and they should be working now. You should try to download again…it’s a great training! xo Kayla
Hi,
This tutorial is great! I have a question though. Is it possible to use water based polyurethane to seal the putty layer instead of an oil based primer? I loathe cleaning paint brushes that have oil based primer on them! Even worse, a cheap, disposable brush leaves brush bristles in your paint! Alas, I am a mere apprentice begging for advice!
Thanks so much,
Michelle
Hi Michelle, a water based polyurethane unfortunately won’t block tannins or grease bleed through. It’s highly likely that you’ll experience stains bleeding through your final coat of paint in the end if you do not use an oil based primer to block them. I know, it really sucks!! Hope this info helps xo