• Skip to primary navigation
  • Skip to main content
  • Skip to primary sidebar

Painted by Kayla Payne

  • Home
  • Shop
  • Blog
    • Painted Cabinets
    • Painted Furniture
    • Painted Brick
    • Paint Guides
  • Freebies
    • FREE Cabinet Paint Supply List Download
    • FREE How To Fill Wood Grain Mini Course
    • FREE Glossy Furniture Guide Download
    • Get A Free Cabinet Painting Estimate!
  • Courses
    • DIY Cabinet Painting 101 Course
  • About Kayla
  • Login

Our Current Fixer Upper: Master Bath

August 21, 2016 Leave a Comment

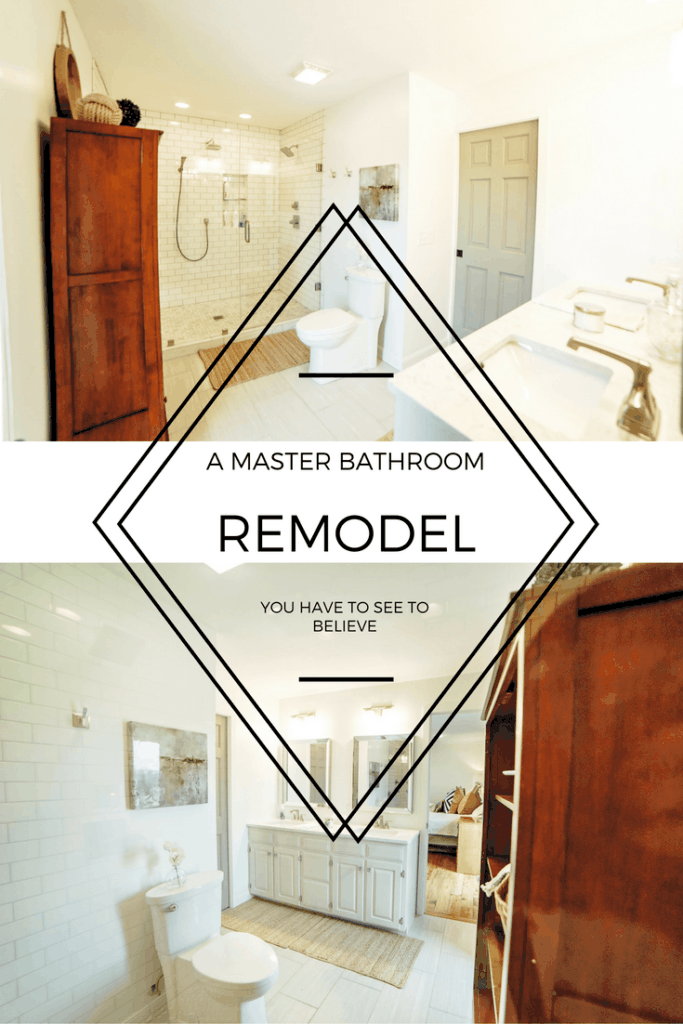
Hi guys!  I’ve been slowly working my way through blogging about our Watts Street Renovation.  So far, I’ve shared about our kitchen, breakfast nook and the living room.  Today I wanted to share possibly the biggest transformation in our house, the master bathroom.

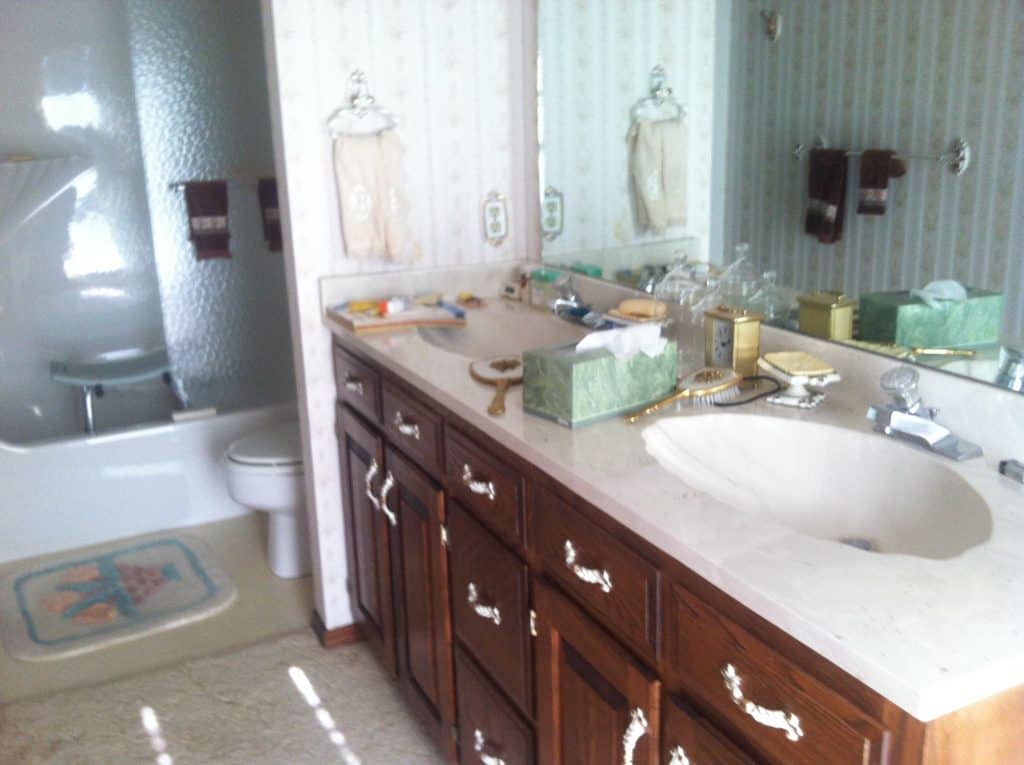
Bathrooms are the hardest rooms to photograph because of their typically tight spaces.  My before photos aren’t the greatest, and it’s hard to get a sense of the space and layout.  Basically though, the below photo sums up the before state of our master bathroom.

It was long and very narrow.  Sure, it functioned fine, but spatially and stylistically it was not good!

IMG_1630

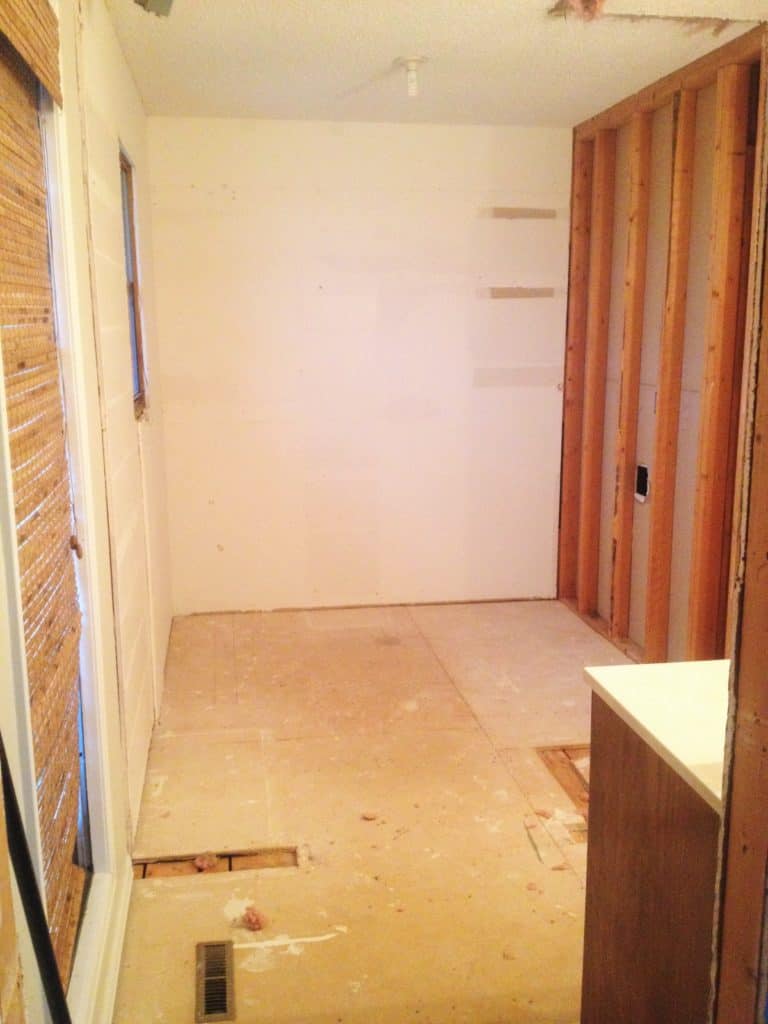
This is a picture of the closet.  The before closet was really great actually!  It was really huge, and most people would’ve taken a huge master closet over a bigger bathroom I would guess.

But for my husband and I, we just don’t really need or want a huge closet.

masterbathroom

Ok, so I took these two above photos from standing in the same spot.  I took the photo of the bathroom, then turned to my left 90 degrees and took the picture of the closet.  Hopefully that can give you an idea of the layout.

I put a lot of thought into how this space could be better utilized for our needs and wants.  The lesser expensive route would’ve been to just update the fixtures and flooring and paint the walls, BUT in the end we decided that the layout of the room just wasn’t going to work.

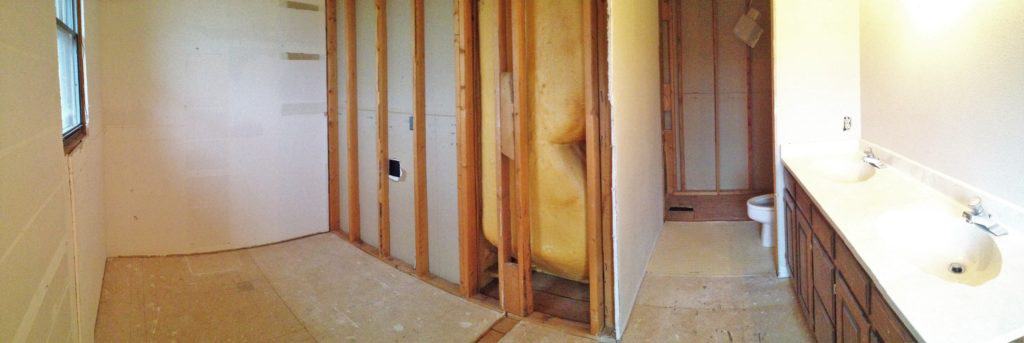
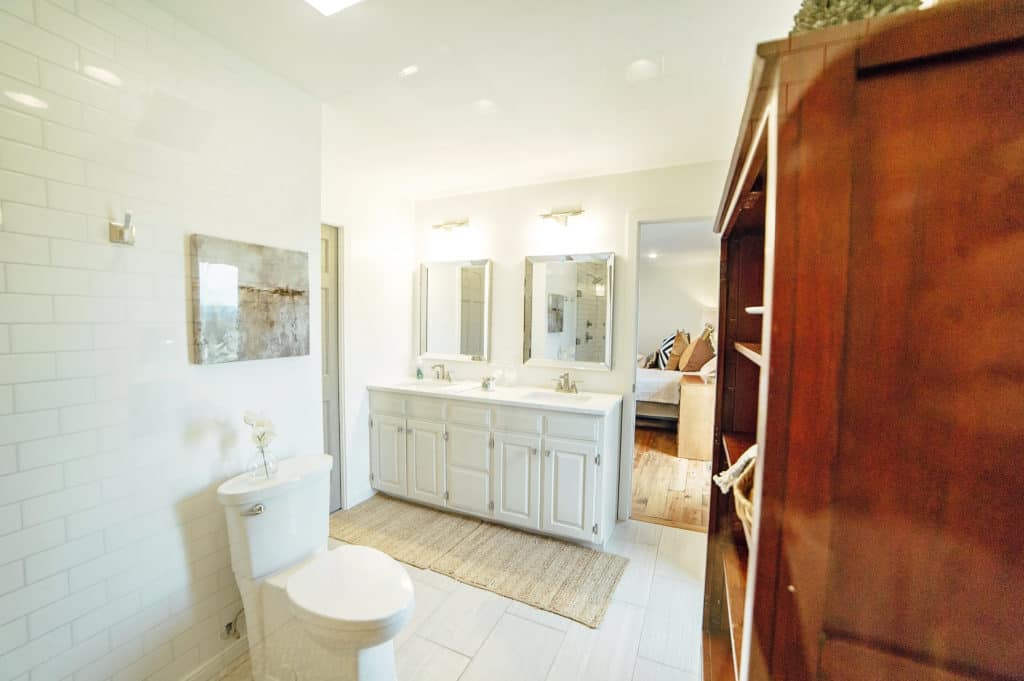
We decided to tear out the closet, shower and toilet areas.  The only thing that we kept in its original place was the vanity.  In fact, we kept the same vanity.  I painted the cabinet and we replaced the countertop!

Our plan was to flip the closet and shower.  This allowed us to add in a huge walk-in shower!  The new closet was added where the old toilet and shower were.  This still gave us a decent size walk-in closet that fits our needs perfectly.

bathroomprogress
After the closet was removed
bathroomprogress2
After the shower was removed


bathroomprogress5
Panoramic shot of the torn out bathroom

subway tile shower

subway tile shower

tiling bathroom floor

tiling a bathroom floor

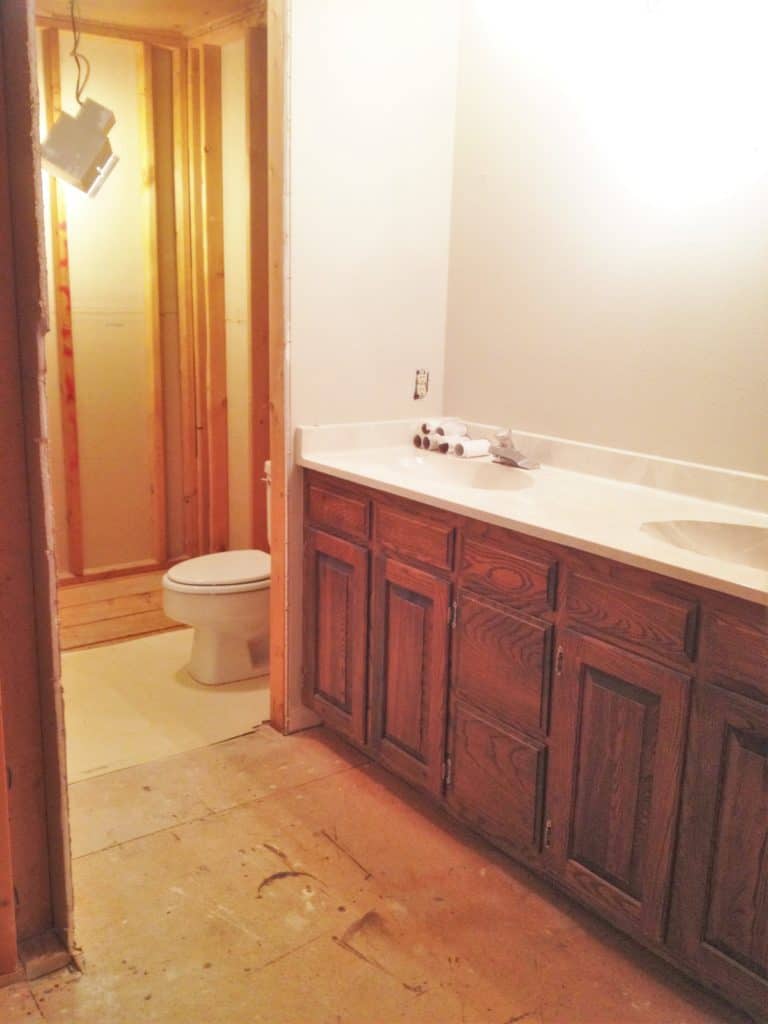
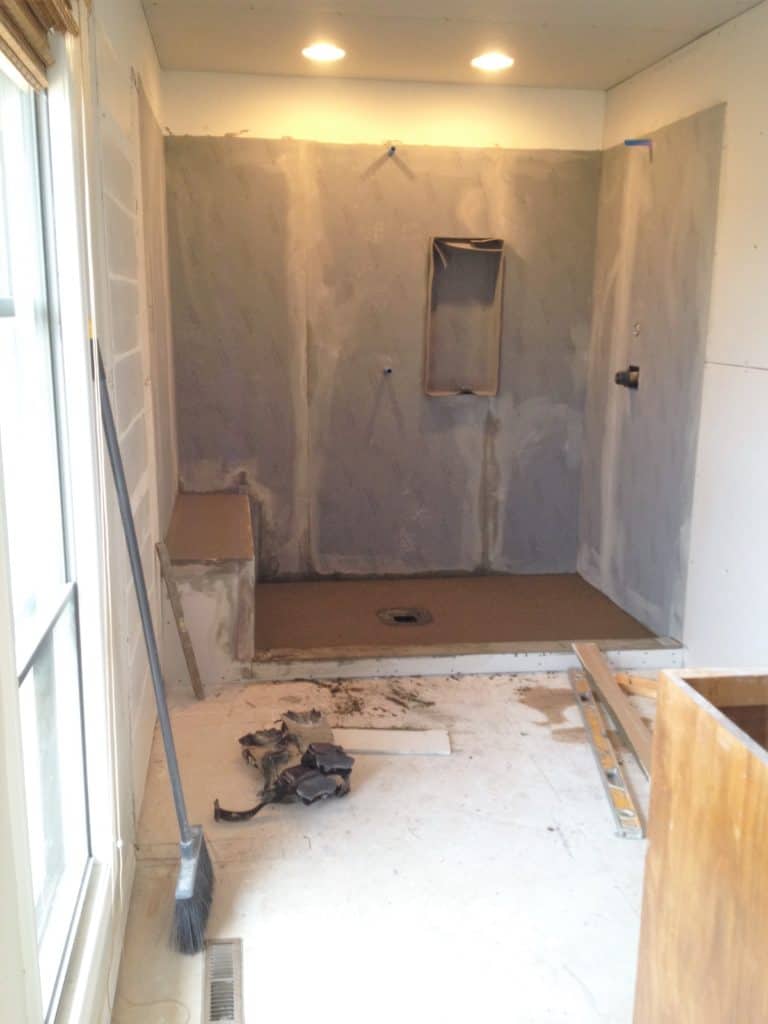
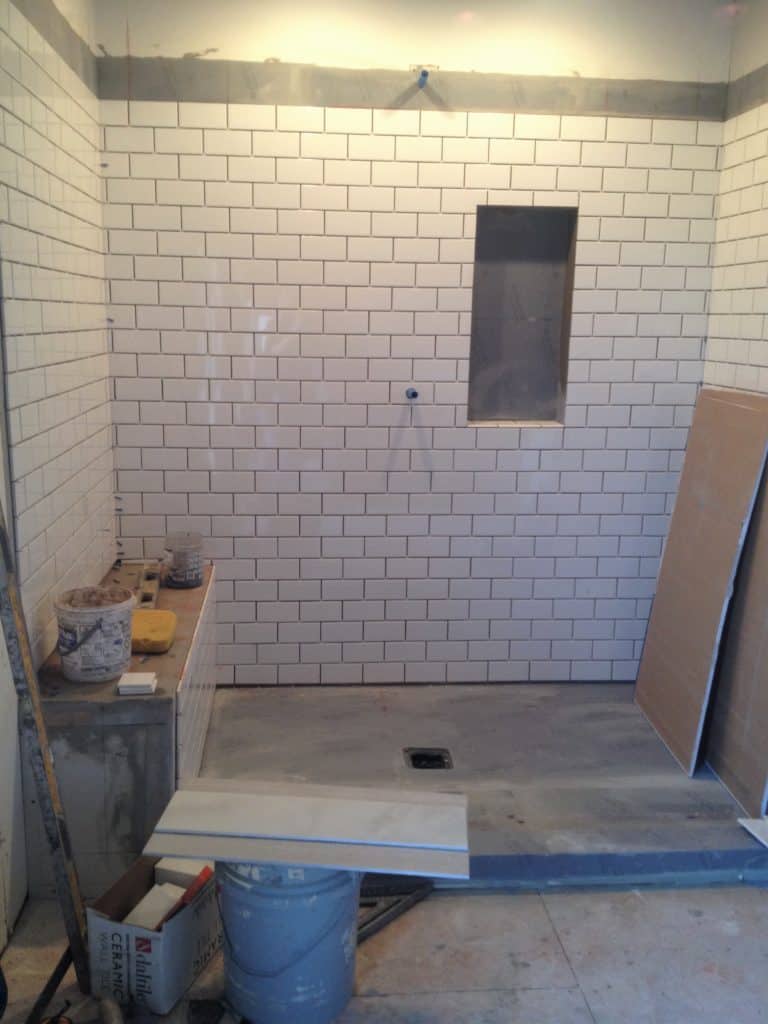
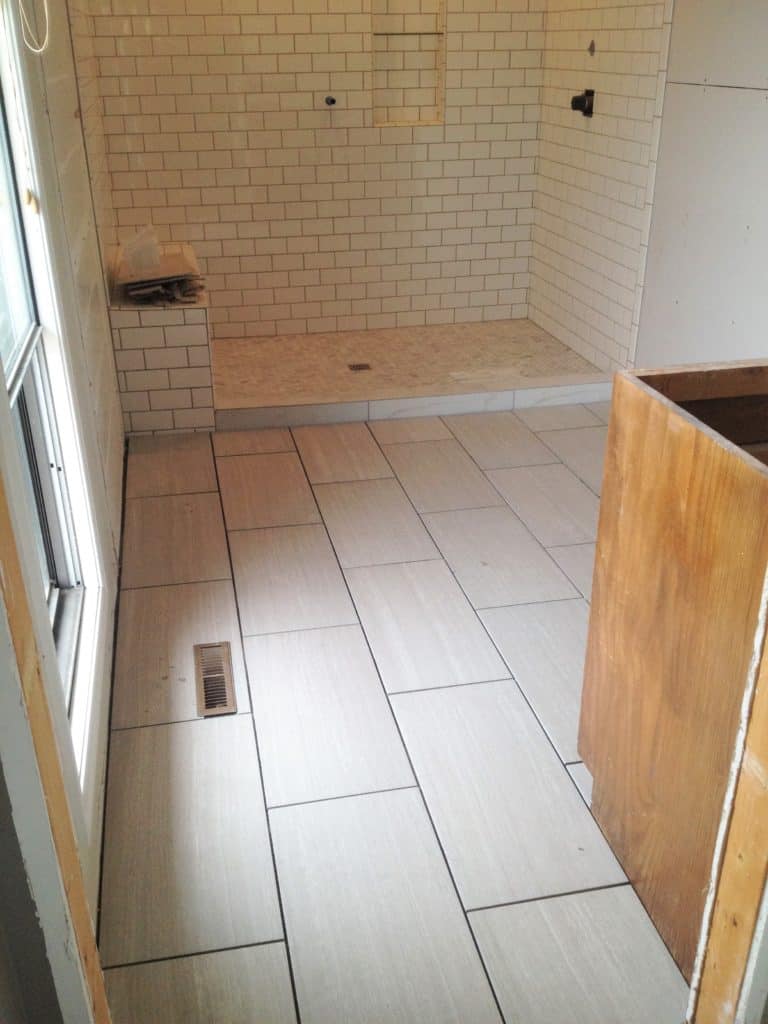
I thought it was important to add some progress photos because I think sometimes it’s easy to see an ugly before photo then a nice after photo in a blog post and think “wow, just snap your fingers and it’s perfect”.

In reality, there are weeks (and in our case months and years) of mess and construction before you get to the final result.  If you’re in the middle of a reno or maybe close to getting started on one, try to be patient with the process because no one can just wiggle their nose and have it finished.

Our before photos were taken in January of 2014 and our after photos in August of 2016 if that helps you know the time scope of this reno!

Master Bathroom Remodel with walk in subway tile shower

Bright and fresh master bathroom with huge walk-in shower with frameless glass doors and dual shower heads.

Huge walk-in shower featuring white subway tile, marble herringbone tile floor and dual shower heads and body spray!

Dual sinks in master bathroom

Marble herringbone tile shower floor with classic white subway tile walls.

This gorgeous master bathroom features a huge subway tile walk-in shower you'll have to see to believe!

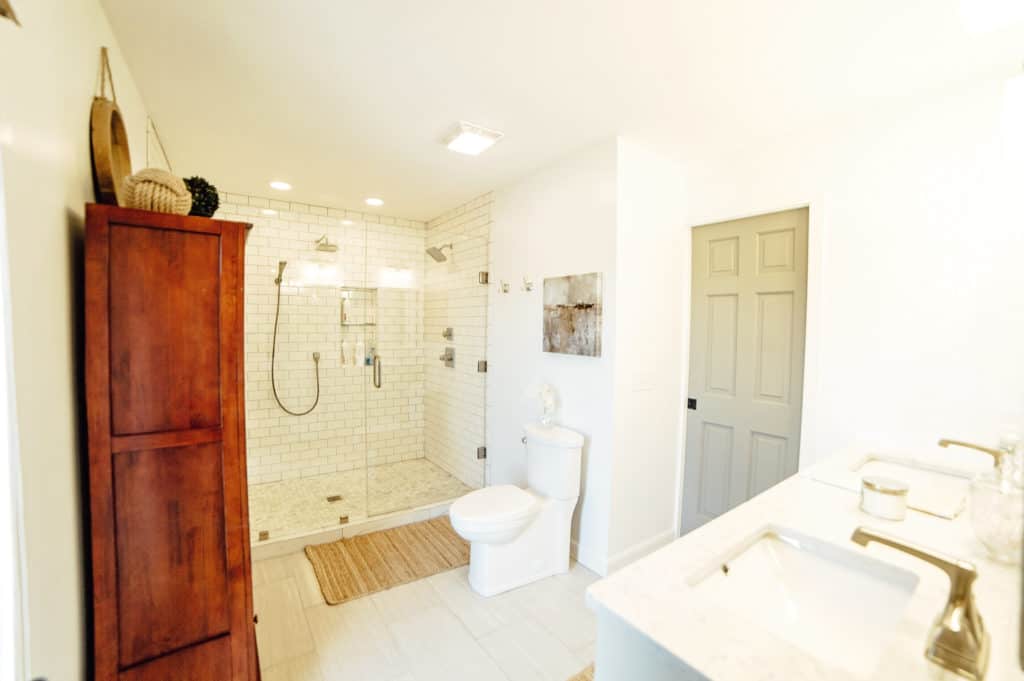
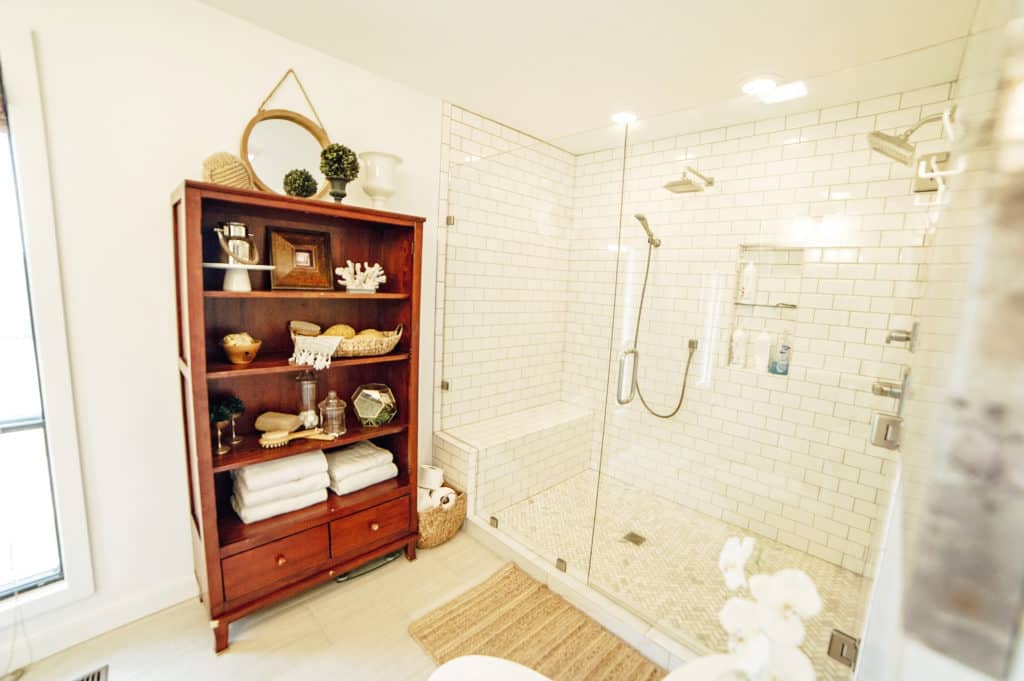
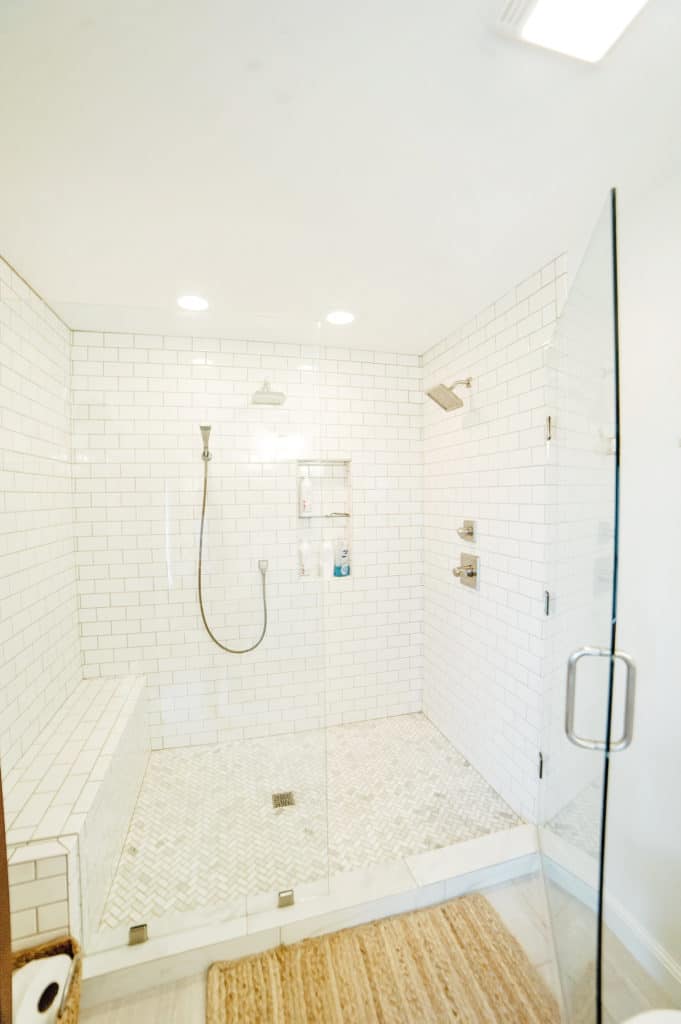
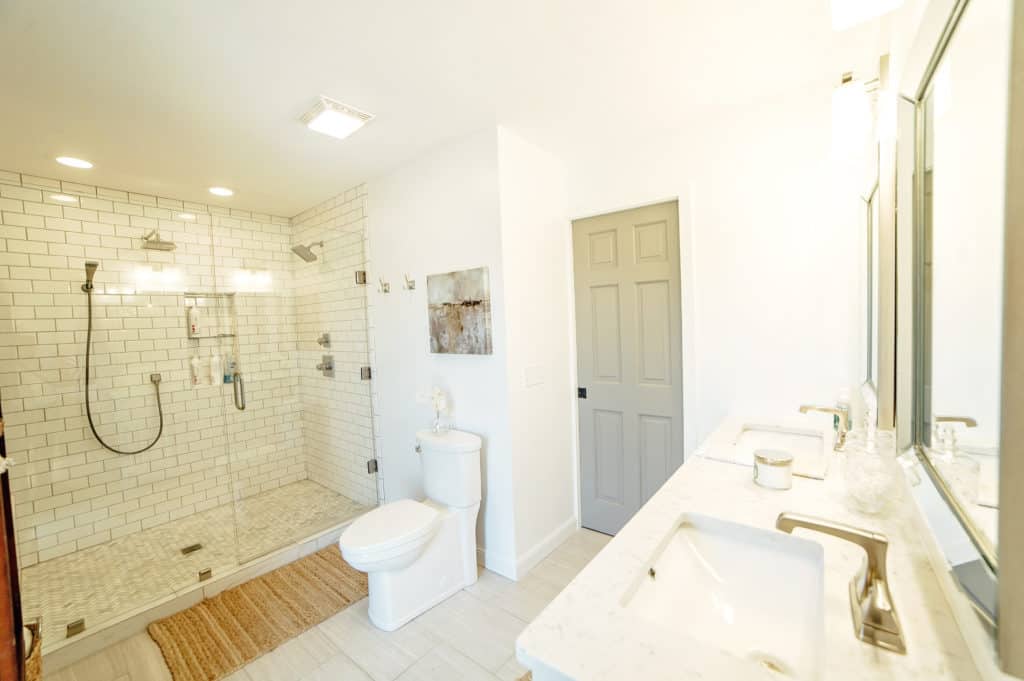
Can you even believe it is the same room!?  The shower is to die for!  It was a no-brainer for us to trade the huge closet for a huge shower!

Hope you enjoyed the transformation, friends:)

Shower Subway Tile

Shower Floor Tile

Counter tops: Quartz (so sorry, I don’t know the name of the pattern)

Sink Faucets

Shower Faucets

Mirrors

Floor Tile

Toilet

Jute Bath Mats

Vanity Color: Benjamin Moore Collingwood

Wall color: Sherwin Williams Untinted White (straight white out of the can)

Curio Cabinet: Thrifted


A master bathroom remodel you will have to see to believe!


Watts Reno

Recent Posts

  • The Best Ready-To-Assemble Cabinets – My Cabinet Joint Review
  • Extreme DIY Kitchen Renovation (Before & After)
  • My ZLINE Appliance Review: Would I purchase them again?
  • 12 Best Tips For Using Fine Paints of Europe High Gloss
Previous Post: « Bamboo Tallboy with Beautiful Surprise
Next Post: Painting our Brick House »

Reader Interactions


Leave a Reply Cancel reply

Your email address will not be published. Required fields are marked *

Primary Sidebar

Hi! I’m Kayla, and I’m so happy you’re here! For more than half of my life, I’ve been painting almost anything I can get my hands on because I’m in love with a good Before & After! Please stay a while and look around! Read More…

Let’s Get Social!

  • Facebook
  • Instagram
  • Pinterest

Most Popular Posts

Check out this antique china cabinet transformation. It went from dark Mahogany to looking mighty dapper using Annie Sloan Chalk Paint. Click to learn more about the colors and techniques I used to create this traditional look!

Antique Painted China Cabinet In Annie Sloan Chalk Paint

Using automotive paint on furniture for a high gloss, durable finish.

How To Use Automotive Paint On Furniture

My Brand New Olive Green Kitchen Cabinets

How to paint get a perfect glossy paint finish

How To Get A Perfect Gloss Paint Finish On Furniture!

Sherwin Williams Alabaster Kitchen Cabinets

  • Home
  • Shop
  • Blog
    • Painted Cabinets
    • Painted Furniture
    • Painted Brick
    • Paint Guides
  • Freebies
    • FREE Cabinet Paint Supply List Download
    • FREE How To Fill Wood Grain Mini Course
    • FREE Glossy Furniture Guide Download
    • Get A Free Cabinet Painting Estimate!
  • Courses
    • DIY Cabinet Painting 101 Course
  • About Kayla
  • Login
  • Affiliate Disclaimer and Privacy Policy
  • Shop
  • Blog
  • Home

Copyright © 2025 · Simply Charming Pro Theme Theme by Restored 316