• Skip to primary navigation
  • Skip to main content
  • Skip to primary sidebar

Painted by Kayla Payne

  • Home
  • Shop
  • Blog
    • Painted Cabinets
    • Painted Furniture
    • Painted Brick
    • Paint Guides
  • Freebies
    • FREE Cabinet Paint Supply List Download
    • FREE How To Fill Wood Grain Mini Course
    • FREE Glossy Furniture Guide Download
    • Get A Free Cabinet Painting Estimate!
  • Courses
    • DIY Cabinet Painting 101 Course
  • About Kayla
  • Login

Our Current Fixer Upper: The Kitchen Part One

June 19, 2016 1 Comment

We’ve been in the middle of renovating our house since we moved here in February of 2014.  It’s been painfully slow to say the least, but we knew this would be the case before we started.  Our goal was to renovate while living here then sell once finished and if all goes well, make a little money and do it all over again in another house.

I know what most of you are thinking, you’re crazy!  

Well, you would be right in thinking that.  It does take a crazy person to be able to live through a long, drawn out reno.  Oh, and we have two young kids.  It’s been a hectic 2.5 years.  BUT, we’re nearing the completion finally, so I wanted to start compiling a few posts of the “before and in-progress” photos.

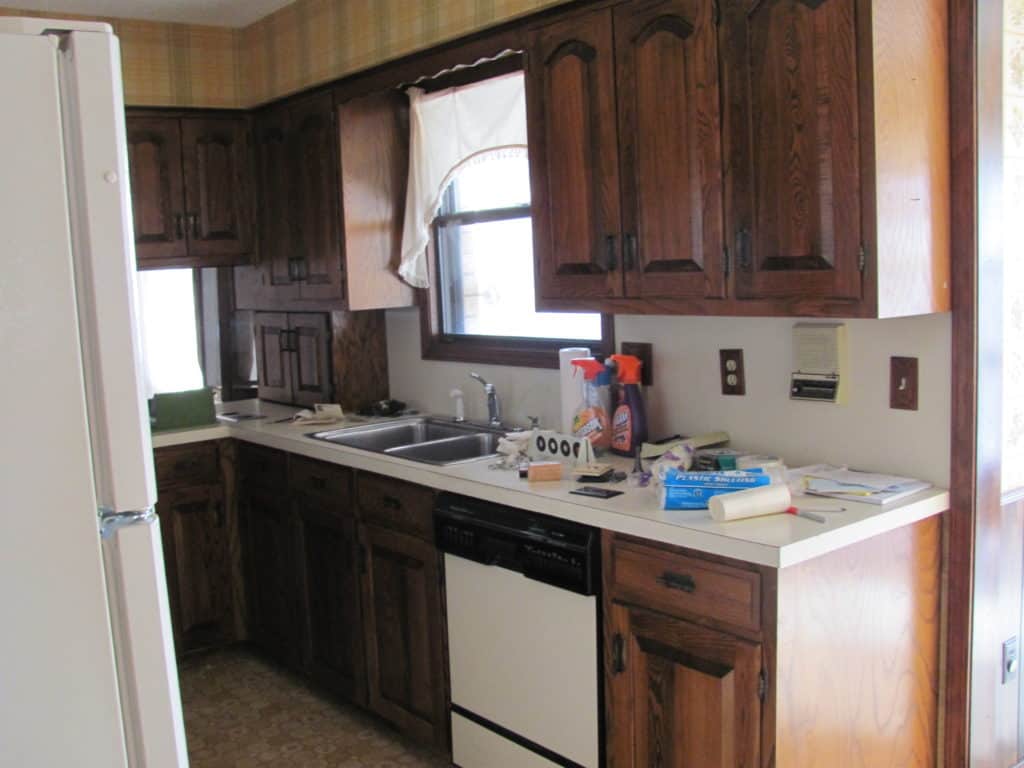
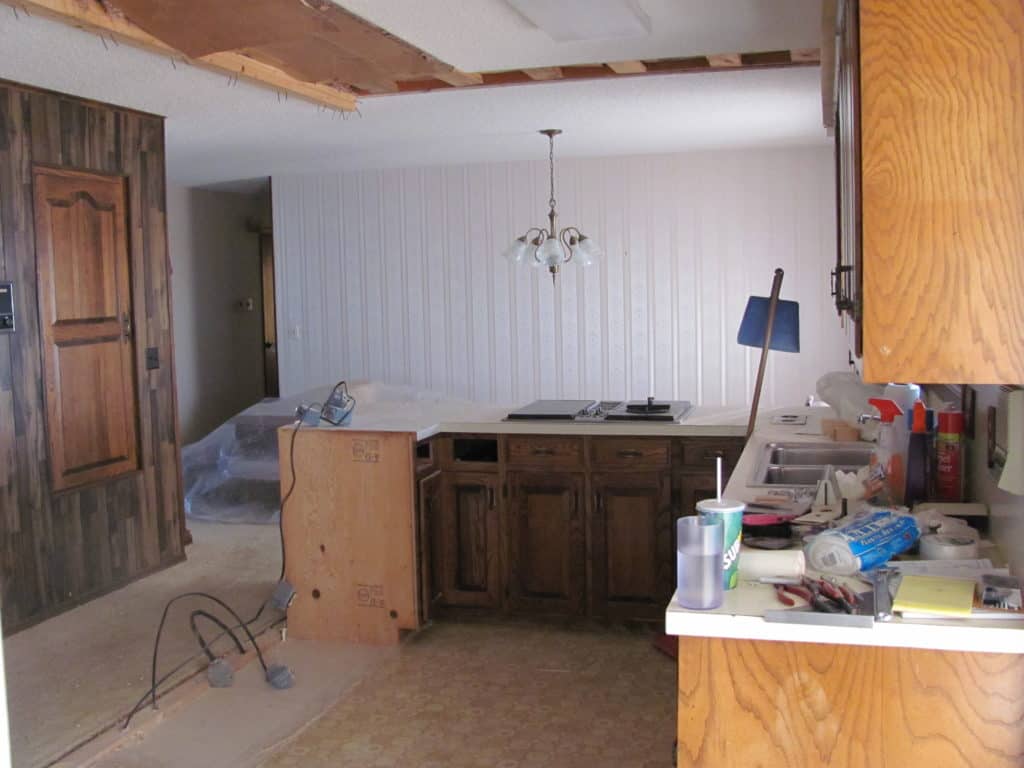
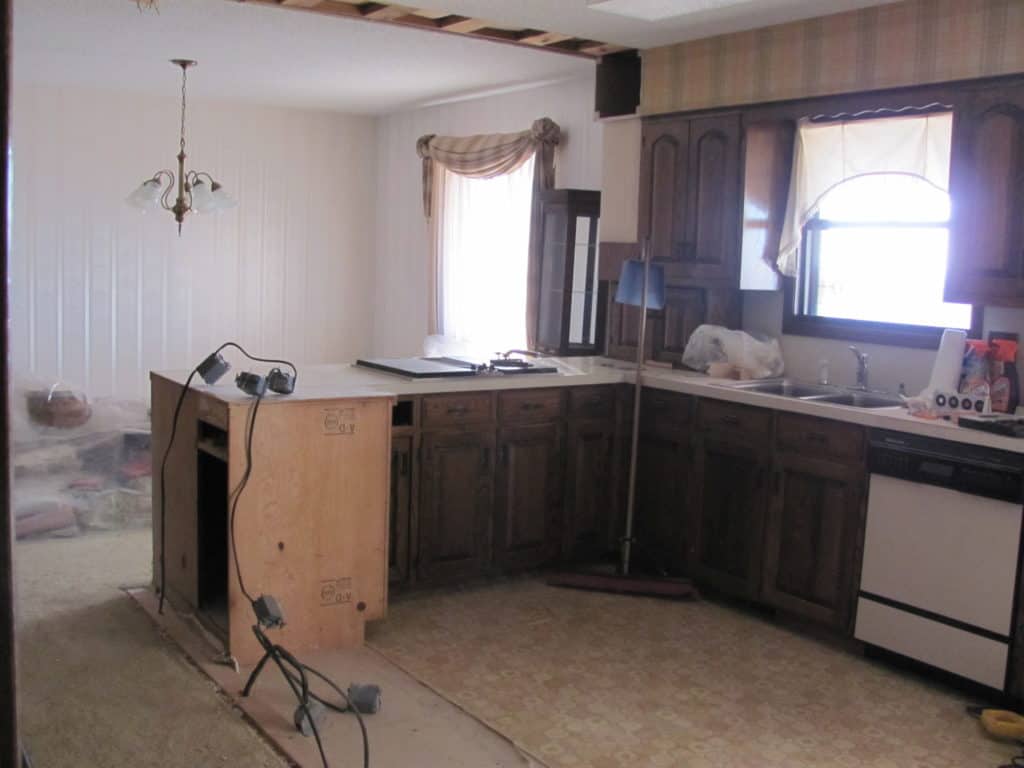
We’ll start in the kitchen.  The house had not been updated since it was built in 1978.  The kitchen was tiny and badly laid out.  It was a U shape layout which isn’t a bad deal, but when you can touch the fridge with one hand and the sink on the opposite side with your other hand, that is a bad deal! fixer upper. kitchen renovation. before and afterfixer upper. kitchen renovation. before and afterfixer upper. kitchen renovation. before and afterfixer upper. kitchen renovation. before and after

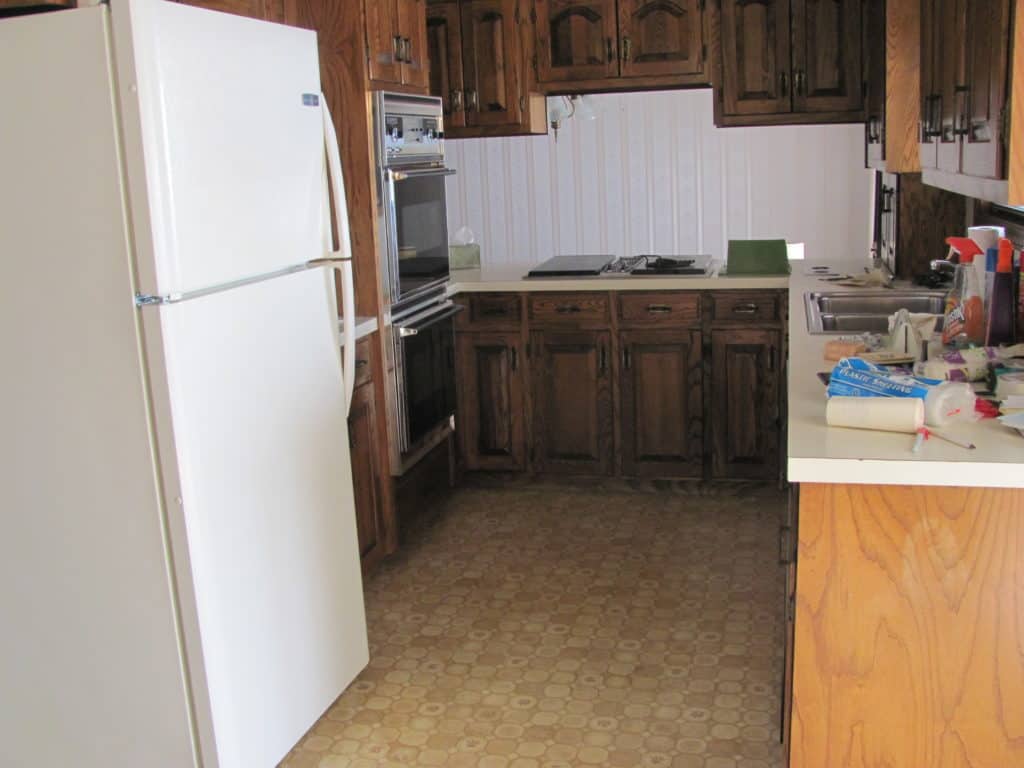
These photos were taken on the day we took possession of the house, but the previous owner’s things were still in it because the estate auction hadn’t taken place yet.  I feel bad posting photos of their belongings, but they’re the only true before pictures I have.

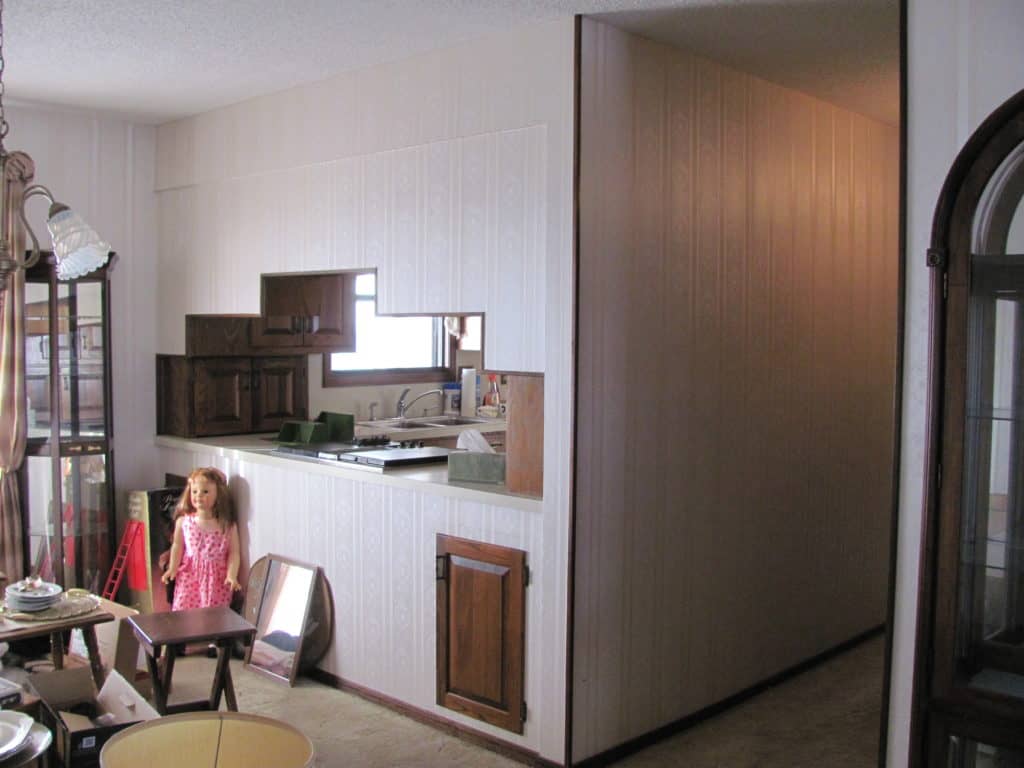
Ok anyway, as you can tell from the pictures, the layout is strange!  The kitchen was really small and closed off.  You had to walk down a narrow hallway to get from the kitchen to the dining room.  I’ll try not to get too wordy here and just let the photos speak for themselves.

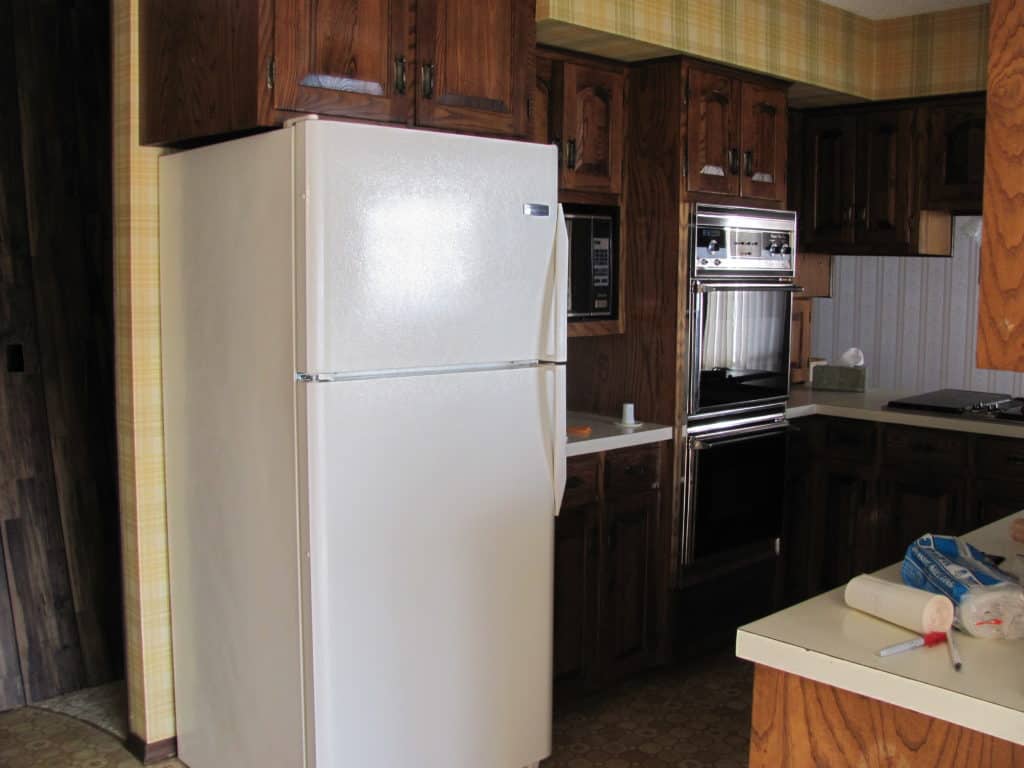
Phase One of the reno was to knock out the wall that housed the fridge, microwave and wall ovens thus eliminating the hallway.  We relocated the fridge to where the old pantry area was.  I wanted a free standing range instead of the wall ovens and stove top on the counter top.

fixer upper kitchen renovation before and after fixer upper kitchen renovation before and after fixer upper kitchen renovation before and after fixer upper kitchen renovation before and after fixer upper kitchen renovation before and after

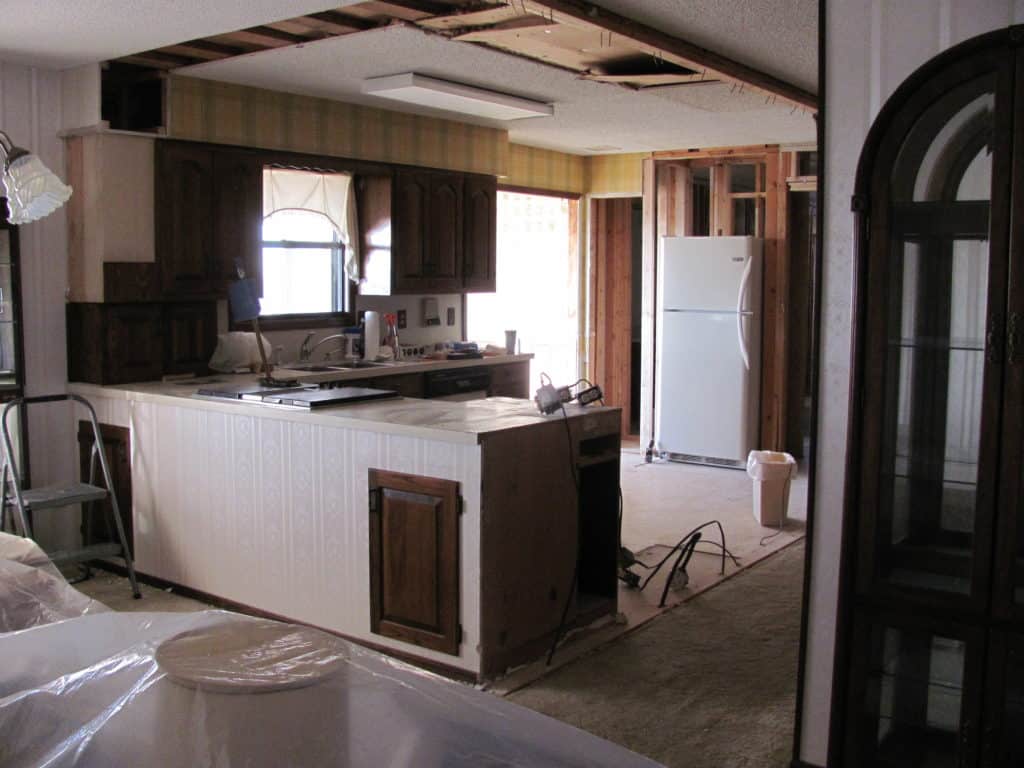
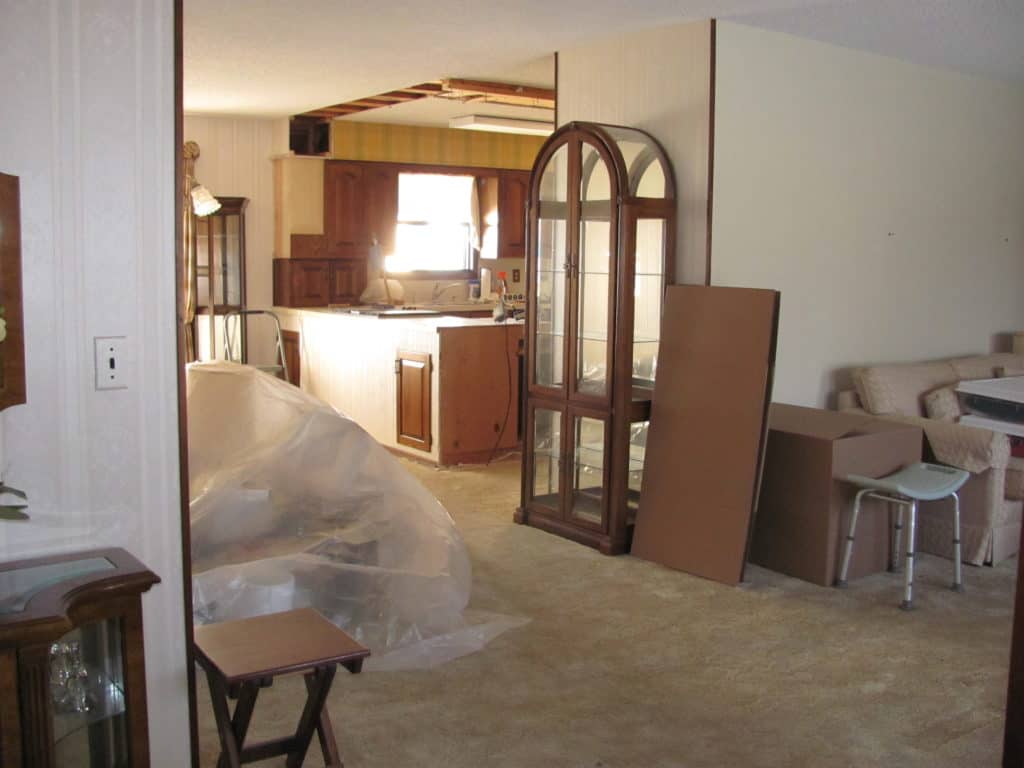
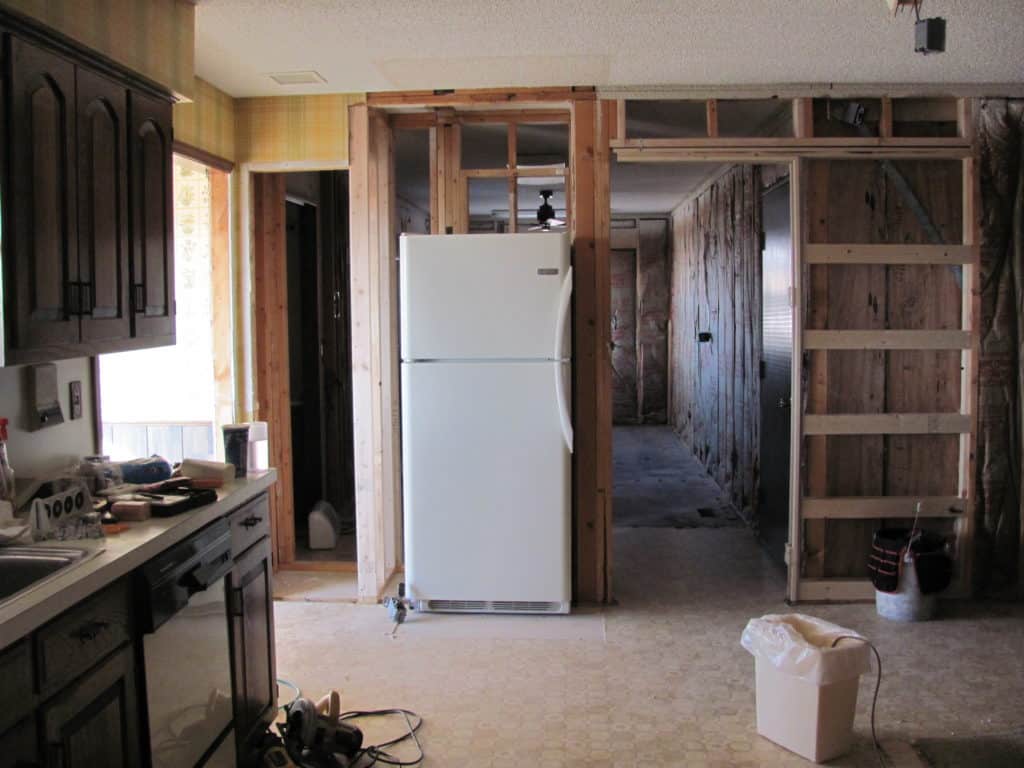
Even though it’s such a mess, you can already see how much bigger and more open the space is!  Okay friends, I’ll be back soon to share more!  Thanks for reading!!

Watts Reno

Recent Posts

  • The Best Ready-To-Assemble Cabinets – My Cabinet Joint Review
  • Extreme DIY Kitchen Renovation (Before & After)
  • My ZLINE Appliance Review: Would I purchase them again?
  • 12 Best Tips For Using Fine Paints of Europe High Gloss
Previous Post: « Stanley Faux Bamboo Dresser in White Dove
Next Post: Our Current Fixer Upper: The Kitchen Part Two »

Reader Interactions


Trackbacks

  1. Our Current Fixer Upper: The Final Reveal - Painted by Kayla Payne says:
    August 8, 2016 at 10:22 pm

    […] the beginning stages of our kitchen remodel. If you’d like to check those out, you can click here and here.  I really had intentions of blogging about the installation of our IKEA cabinets, but […]

    Reply

Leave a Reply Cancel reply

Your email address will not be published. Required fields are marked *

Primary Sidebar

Hi! I’m Kayla, and I’m so happy you’re here! For more than half of my life, I’ve been painting almost anything I can get my hands on because I’m in love with a good Before & After! Please stay a while and look around! Read More…

Let’s Get Social!

  • Facebook
  • Instagram
  • Pinterest

Most Popular Posts

Check out this antique china cabinet transformation. It went from dark Mahogany to looking mighty dapper using Annie Sloan Chalk Paint. Click to learn more about the colors and techniques I used to create this traditional look!

Antique Painted China Cabinet In Annie Sloan Chalk Paint

Using automotive paint on furniture for a high gloss, durable finish.

How To Use Automotive Paint On Furniture

My Brand New Olive Green Kitchen Cabinets

How to paint get a perfect glossy paint finish

How To Get A Perfect Gloss Paint Finish On Furniture!

Sherwin Williams Alabaster Kitchen Cabinets

  • Home
  • Shop
  • Blog
    • Painted Cabinets
    • Painted Furniture
    • Painted Brick
    • Paint Guides
  • Freebies
    • FREE Cabinet Paint Supply List Download
    • FREE How To Fill Wood Grain Mini Course
    • FREE Glossy Furniture Guide Download
    • Get A Free Cabinet Painting Estimate!
  • Courses
    • DIY Cabinet Painting 101 Course
  • About Kayla
  • Login
  • Affiliate Disclaimer and Privacy Policy
  • Shop
  • Blog
  • Home

Copyright © 2025 · Simply Charming Pro Theme Theme by Restored 316