• Skip to primary navigation
  • Skip to main content
  • Skip to primary sidebar

Painted by Kayla Payne

  • Home
  • Shop
  • Blog
    • Painted Cabinets
    • Painted Furniture
    • Painted Brick
    • Paint Guides
  • Freebies
    • FREE Cabinet Paint Supply List Download
    • FREE How To Fill Wood Grain Mini Course
    • FREE Glossy Furniture Guide Download
    • Get A Free Cabinet Painting Estimate!
  • Courses
    • DIY Cabinet Painting 101 Course
  • About Kayla
  • Login

Our Current Fixer Upper: The Kitchen Part Two

June 20, 2016 5 Comments

Hello again my friends!  Yesterday, I shared the first installment of our current fixer upper’s kitchen.  If you missed that and would like to catch up on the dated awesomeness, you can do so by clicking here.

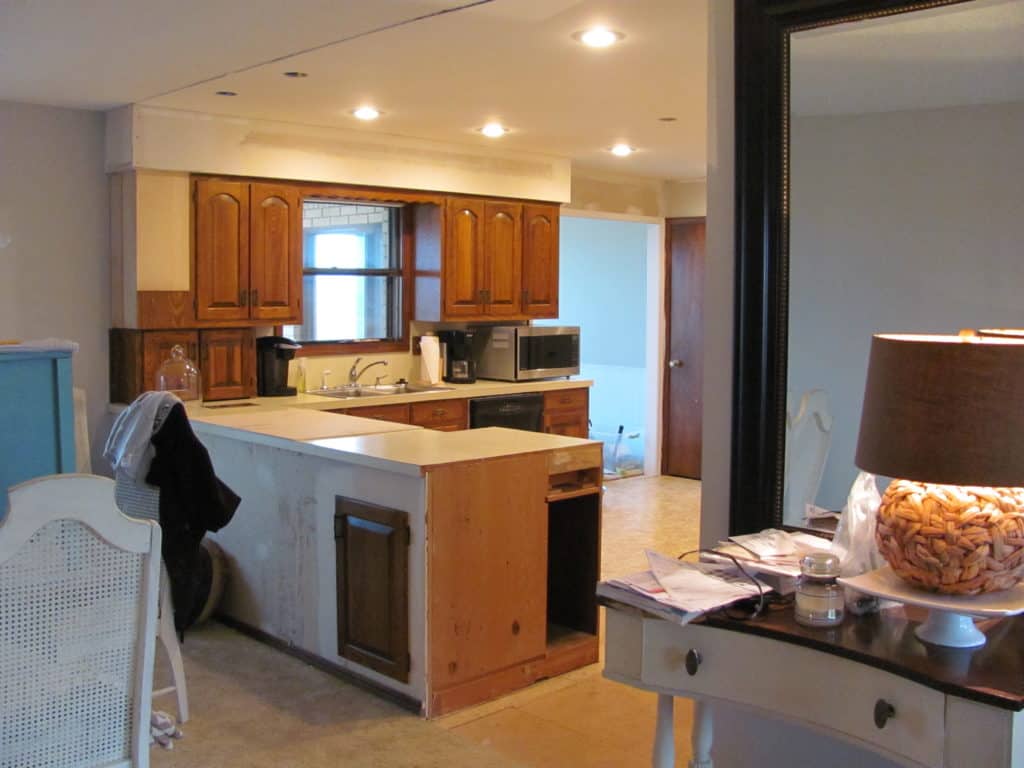
Picking up where I left off, after we had the kitchen wall removed, the ceiling repaired, can lights added and sheetrock, we just left the room alone for a long, long time!

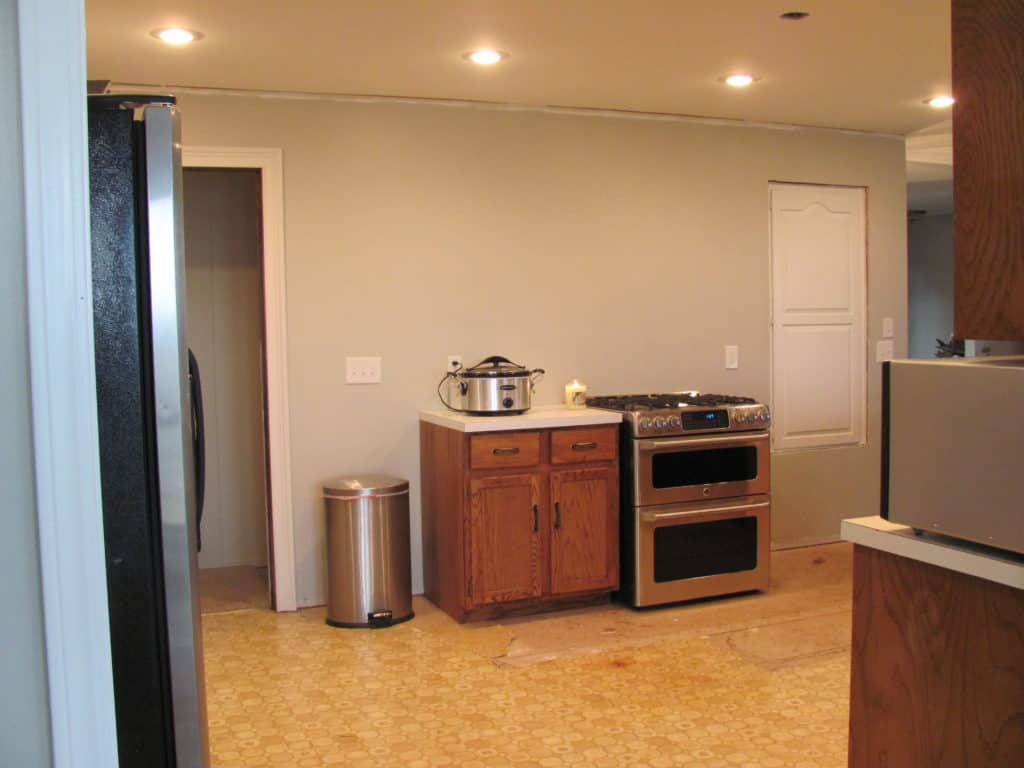
We did buy a freestanding range and centered it on the new kitchen wall (which was previously the hallway behind the kitchen) and added a temporary cabinet next to it for a little more cooking prep area.  Let me tell you something, it was not easy to have this as a kitchen, ha!

But, I was just thankful to have what I had, and I tried really hard just to be patient until we had saved a little more money to renovate some more.

fixer upper kitchen renovation before and afterfixer upper kitchen renovation before and afterfixer upper kitchen renovation before and afterfixer upper kitchen renovation before and afterfixer upper kitchen renovation before and after

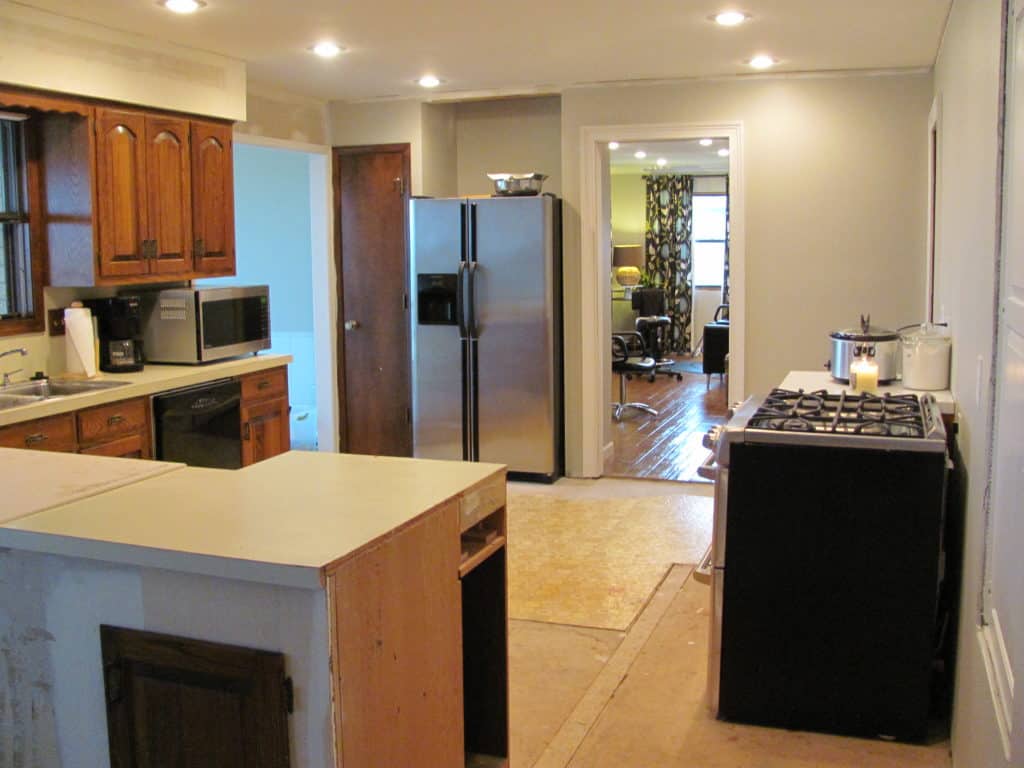
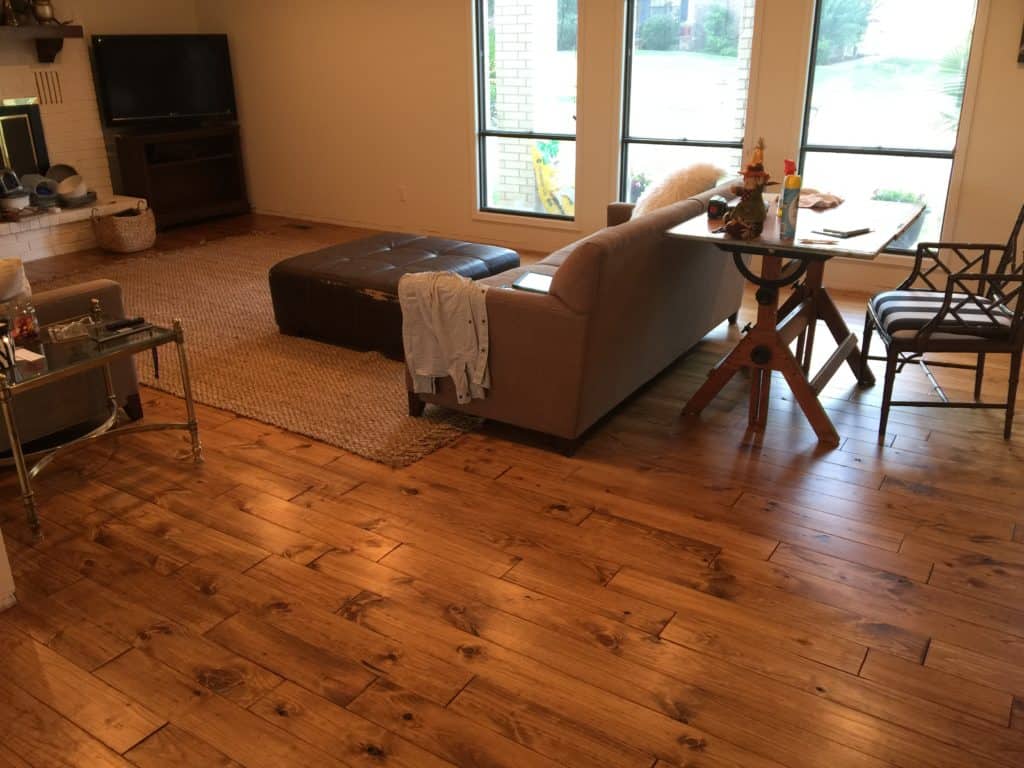
As you can see, the room beyond the fridge was completed before the kitchen.  Up until this past year and a half I’ve been a full time hair dresser working from my home-based salon.  The salon had top priority when we moved because I needed to immediately begin working in there.  I’ll share those before and afters someday too.  They’re major!

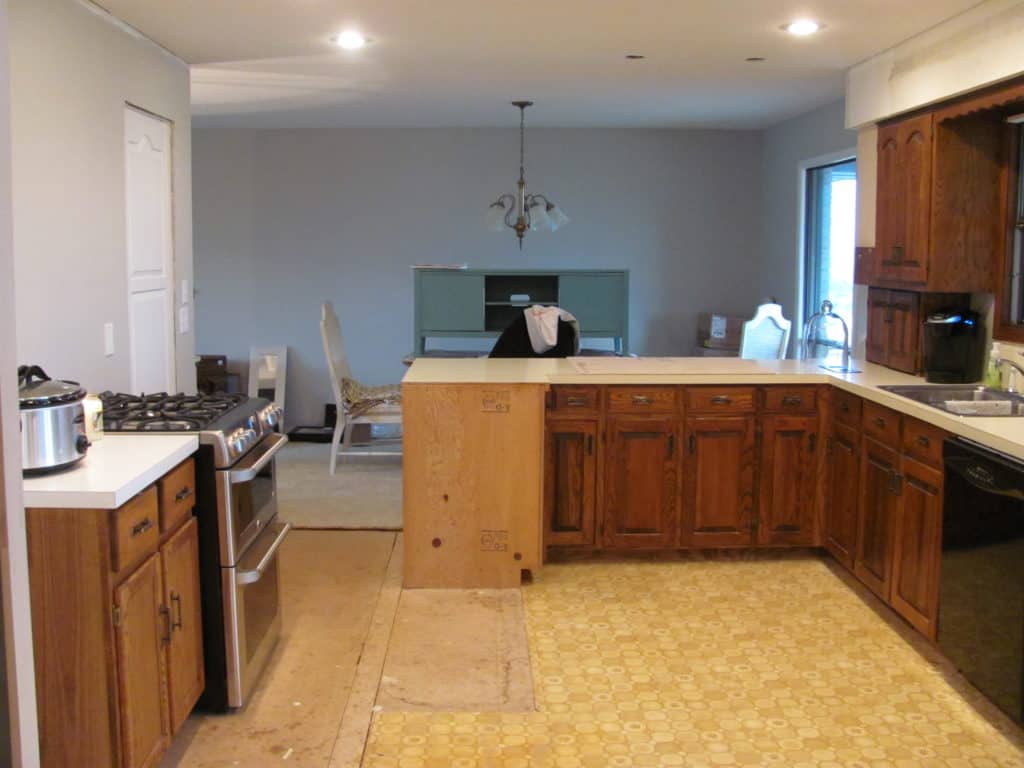
Ok moving on…the kitchen stayed in this state for over a year!

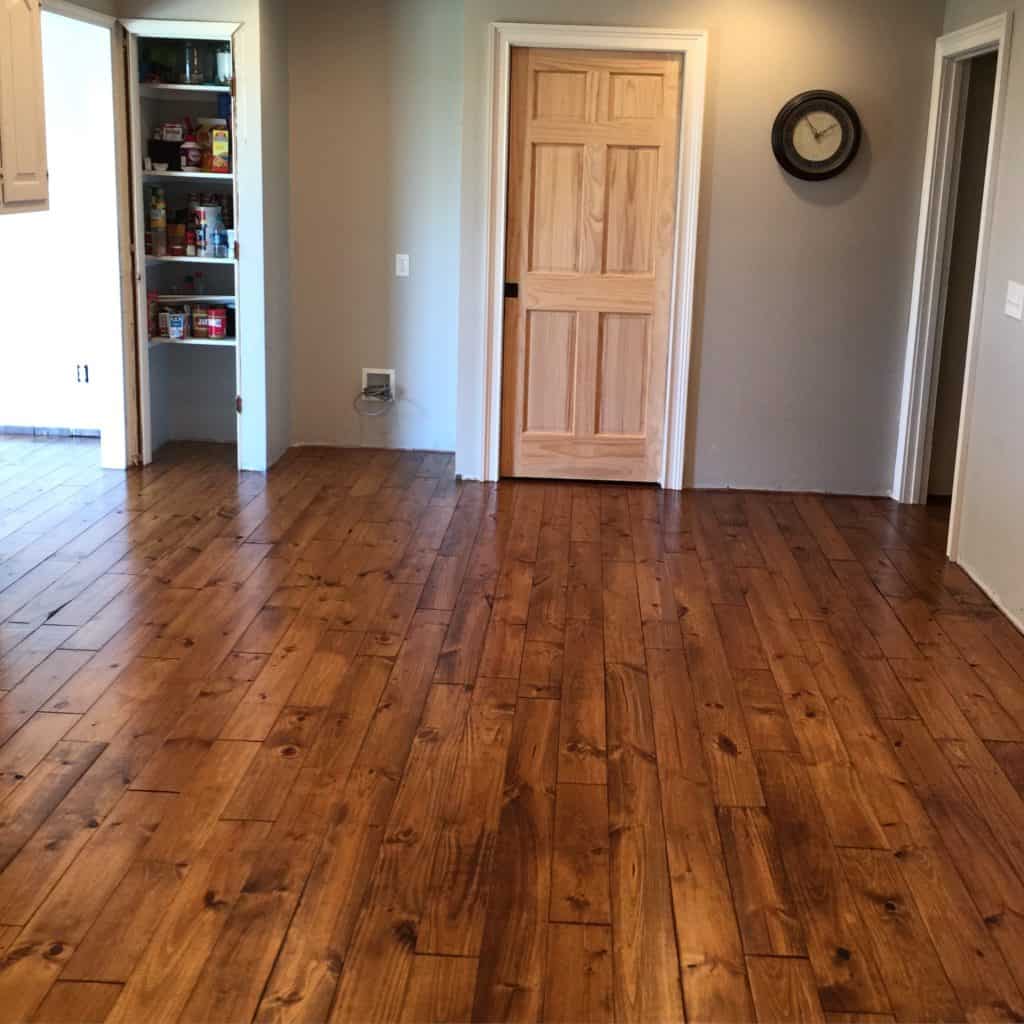
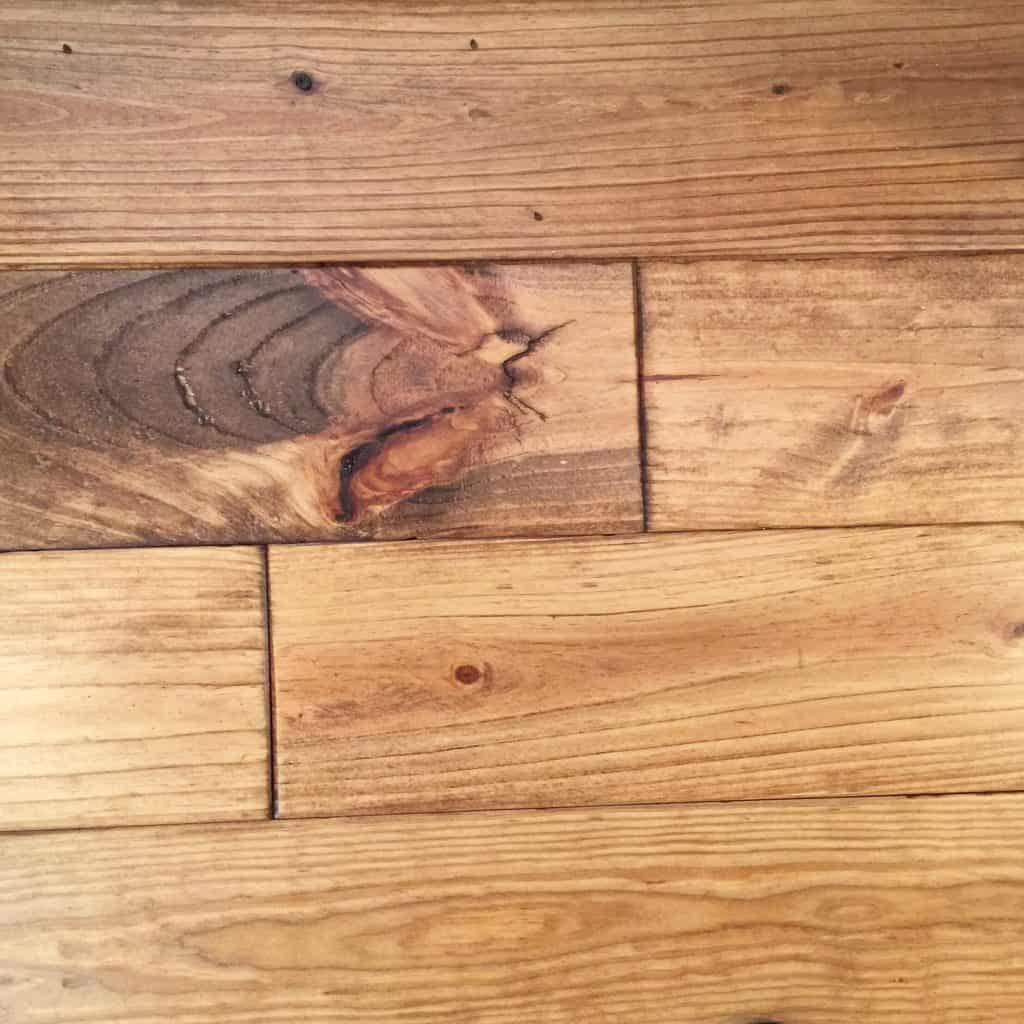
In the summer of 2015, we finally got to move forward on the floors.  We decided to go with solid Pine 5″ wide hardwood throughout most of the main level.

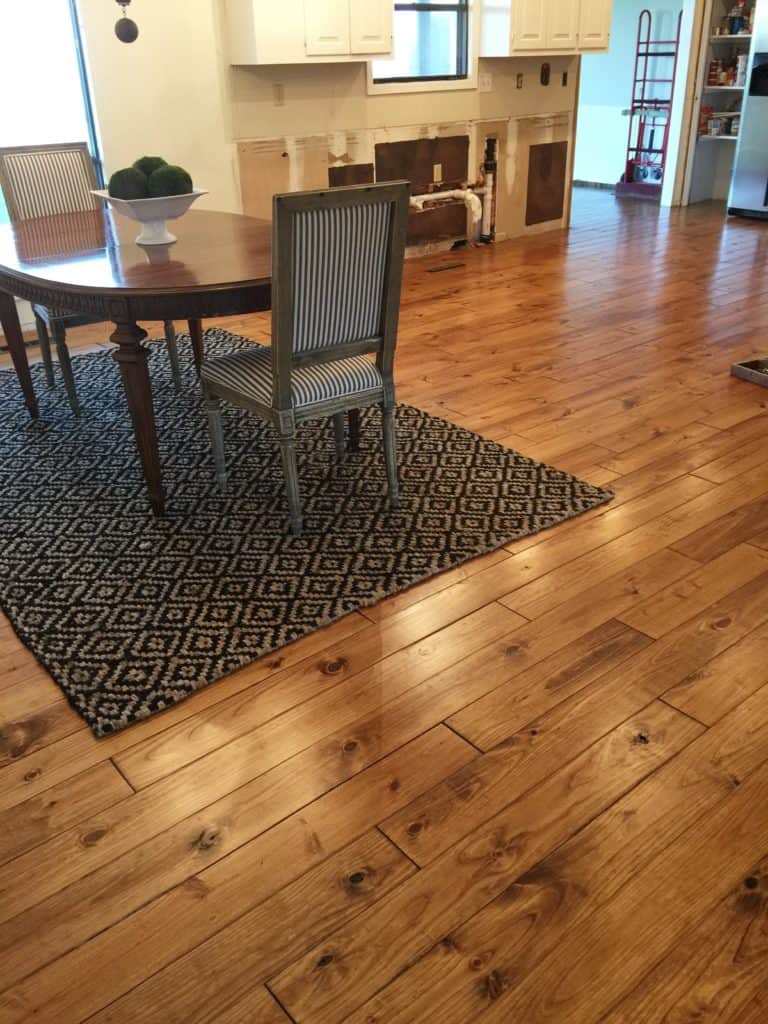
Our installers told us that setting the new cabinets on top of the floor would be best, so we ripped out the rest of the cabinets.  We scheduled the floors to be installed while we were in Florida on vacation since we wouldn’t be able to be in the house for about a week while they were being laid down, stained and polyurethaned.  I was so anxious on the 10 hour drive home!!

Minwax Early American stain on Pine.  Solid Hardwood flooring in KitchenMinwax Early American stain on Pine.  Solid Hardwood flooring in KitchenMinwax Early American stain on Pine.  Solid Hardwood flooring in KitchenMinwax Early American stain on Pine.  Solid Hardwood flooring in Kitchen

I was so happy to have flooring in my kitchen again (even though that meant now I had no sink or cabinets haha)!  In the next kitchen post, I’ll share our experience installing IKEA cabinets!  Spoiler alert: we love them!  Thanks for coming by!

Watts Reno

Recent Posts

  • The Best Ready-To-Assemble Cabinets – My Cabinet Joint Review
  • Extreme DIY Kitchen Renovation (Before & After)
  • My ZLINE Appliance Review: Would I purchase them again?
  • 12 Best Tips For Using Fine Paints of Europe High Gloss
Previous Post: « Our Current Fixer Upper: The Kitchen Part One
Next Post: Our Current Fixer Upper: The Final Reveal »

Reader Interactions


Comments

  1. Judy Morris says

    July 7, 2016 at 6:42 pm

    Oh my! My hubbies said I had to see your site. Oh my goodness! The work you do is so beautiful! I am so impressed by your craftsmanship. The way you have renovated The Rose house and the house you’re living in now is so beautiful!!!

    Reply
    • Kayla says

      July 10, 2016 at 12:59 pm

      Thanks Judy!! xo

      Reply
  2. Dane Udenberg says

    September 7, 2016 at 10:36 am

    Hi Kayla,

    I really like the dark-stained pine in the picture above that includes a pantry unit, light colored door, and a round clock. Can you please tell me if that is indeed pine, and what kind of stain you used? I’d like to do the exact same thing!

    Thanks much,

    Dane Udenberg

    Reply
    • Kayla says

      September 7, 2016 at 11:22 am

      Hi Dane, yes the floors are pine and they used MinWax Early American stain. Hope this helps!

      Reply

Trackbacks

  1. Our Current Fixer Upper: The Final Reveal - Painted by Kayla Payne says:
    August 9, 2016 at 7:46 am

    […] stages of our kitchen remodel. If you’d like to check those out, you can click here and here.  I really had intentions of blogging about the installation of our IKEA cabinets, but you guys, I […]

    Reply

Leave a Reply Cancel reply

Your email address will not be published. Required fields are marked *

Primary Sidebar

Hi! I’m Kayla, and I’m so happy you’re here! For more than half of my life, I’ve been painting almost anything I can get my hands on because I’m in love with a good Before & After! Please stay a while and look around! Read More…

Let’s Get Social!

  • Facebook
  • Instagram
  • Pinterest

Most Popular Posts

Check out this antique china cabinet transformation. It went from dark Mahogany to looking mighty dapper using Annie Sloan Chalk Paint. Click to learn more about the colors and techniques I used to create this traditional look!

Antique Painted China Cabinet In Annie Sloan Chalk Paint

Using automotive paint on furniture for a high gloss, durable finish.

How To Use Automotive Paint On Furniture

My Brand New Olive Green Kitchen Cabinets

How to paint get a perfect glossy paint finish

How To Get A Perfect Gloss Paint Finish On Furniture!

Sherwin Williams Alabaster Kitchen Cabinets

  • Home
  • Shop
  • Blog
    • Painted Cabinets
    • Painted Furniture
    • Painted Brick
    • Paint Guides
  • Freebies
    • FREE Cabinet Paint Supply List Download
    • FREE How To Fill Wood Grain Mini Course
    • FREE Glossy Furniture Guide Download
    • Get A Free Cabinet Painting Estimate!
  • Courses
    • DIY Cabinet Painting 101 Course
  • About Kayla
  • Login
  • Affiliate Disclaimer and Privacy Policy
  • Shop
  • Blog
  • Home

Copyright © 2025 · Simply Charming Pro Theme Theme by Restored 316